I have a bit of a love/hate relationship with meringues. On the one hand they are extremely simple to make, with just two ingredients, but on the other, for the most part, they are almost universally blobby. Not such a defect, you might think, but it doesn’t help the elegance of a dish when one’s natural inclination is to the rustic.
So armed with one of my favourite baking books, I decided to experiment with trying to impose some order on these feather-light and versatile confections.
There are three basic types of meringue, which have come to be identified as French, Italian and Swiss, based mostly on how the sugar is treated in the mixing.
French meringue is the classic, with the egg-whites being whipped to soft peaks, before caster sugar is gradually added, then whisked to stiff peaks. This is a versatile meringue in that you can bake it by itself in blobs and nests an kisses or use it to top sweet-filled pies and tarts. However, it is not stable and will, over time, deflate back into a liquid. It needs to be baked after whisking.
Italian meringue has become very popular in recent times, due to its longer ‘shelf-life’ for want of a better word. The egg-whites are whisked together with a hot sugar syrup which cooks them enough to prevent them deflating once cold. Italian meringue can be folded into mousses and ice-creams to provide lightness and creaminess, can be piped directly onto cakes and pies and toasted either in the oven or with a blow-torch. It can also have butter whipped into it to make an indulgent filling/icing for cakes large and small.
Swiss Meringue is a method that falls roughly between that of French and Italian. The sugar and unwhipped egg-whites are stirred over simmering water until the sugar has dissolved, then they are removed from the heat and whisked vigorously until cool. This method makes for a firm, dazzlingly-white meringue that holds its shape exceptionally well, especially when piped with a patterned nozzle, which makes it the perfect meringue to use for adding a little more form and structure to your desserts.
This recipe comes from the Victorian baking book, “All about Biscuits” by H.G.Harris & S.P.Borella (c1900) and is listed only as a meringue mixture (one of many throughtout the book). It calls for caster sugar and the whites of eggs to be whisked to a temperature of 66°C. Comparing this method with recipes available online, it is interesting to note that the ratio of sugar to egg-whites in modern mixtures varies, as does the temperature to which the mixture should be heated, from equal quantities by weight of sugar and egg-whites up to double the sugar to egg-whites, and in temperature from ‘until the sugar is dissolved’ as high as 80°C.
This recipe is a diplomatic middle-ground, but you should experiment to find the mixture that works best for you. What you do with the meringue after it is made, is really the main focus of this post, and my initial experiments are included below. Most modern recipes stop after the mixing stage and either suggest the meringue be used as-is on top of pies and cakes, or that butter is whipped into the meringue to create a buttercream. Detailed below is a third option: that of baking the meringue dry to enjoy as they are or for use in other recipes. I hope to be able to add to the photographs as I discover additional suitable designs.
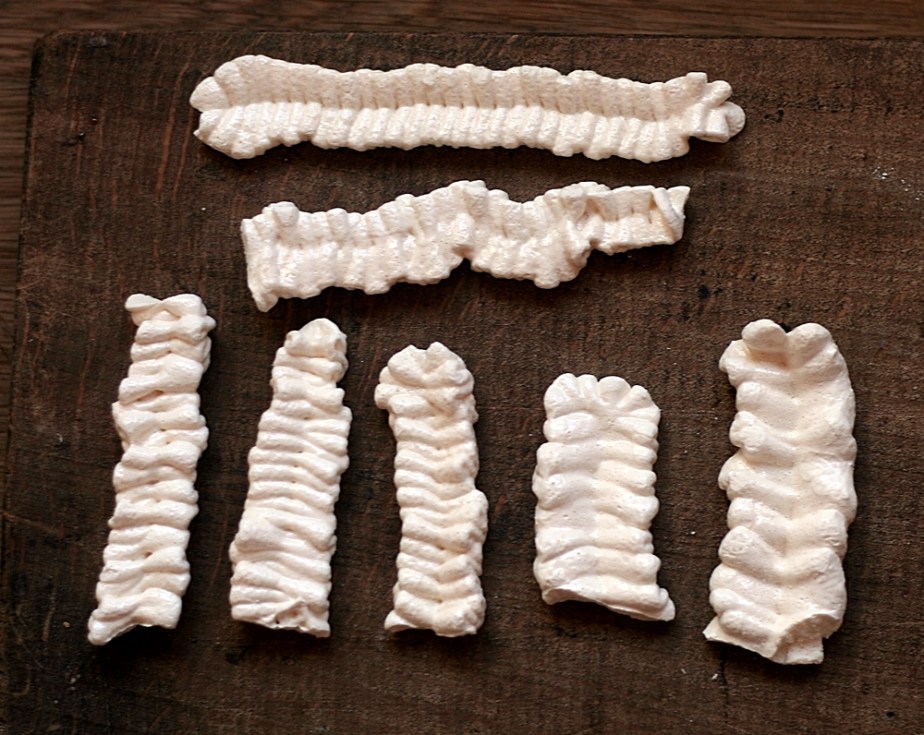
Use of silicone moulds
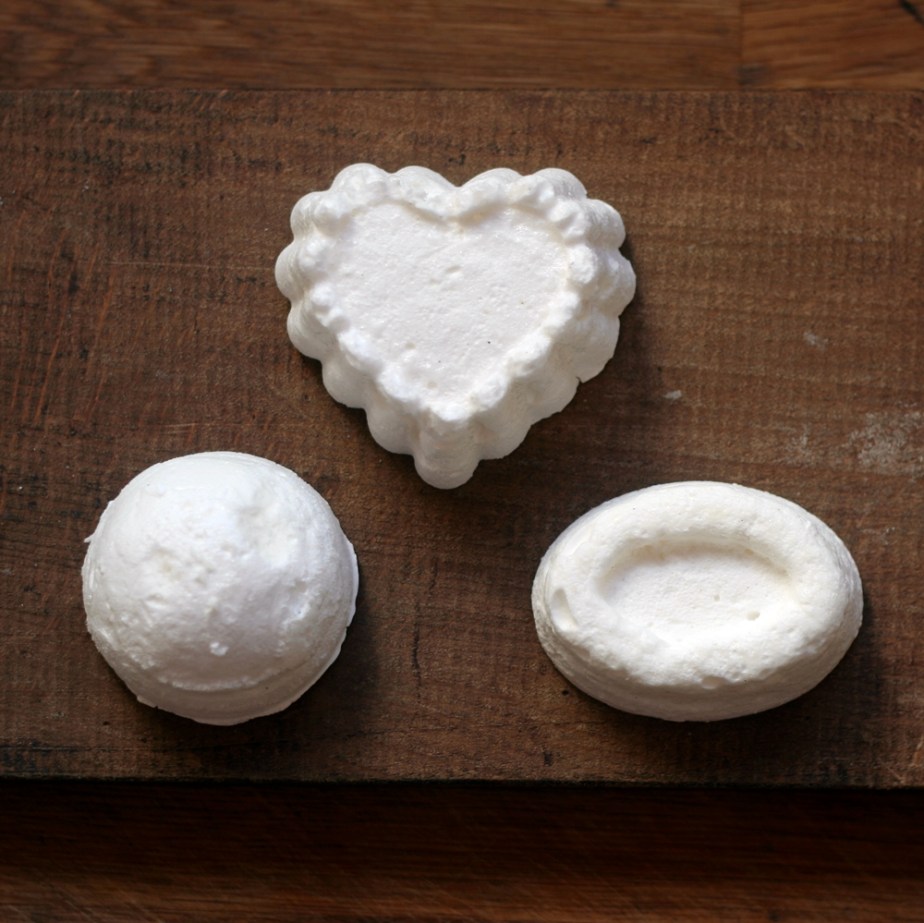
Use of flexible silicone moulds are the simplest way to give your meringues a professional look. Smooth the meringue into clean moulds, trying to ensure there are no air-pockets trapped between the mixture and the surface of the mould. The drawback of this approach is the length of time the meringues take to dry. The best method I have found, is to cook them at a slightly higher temperature initially (80°C), until the visible surface is cooked and firm, then gently ease them from the mould and allow them to dry overnight in an extremely low oven (mine will actually go as low as 30°C). They will be perfectly dry, dazzlingly white and will keep for days in an airtight container.
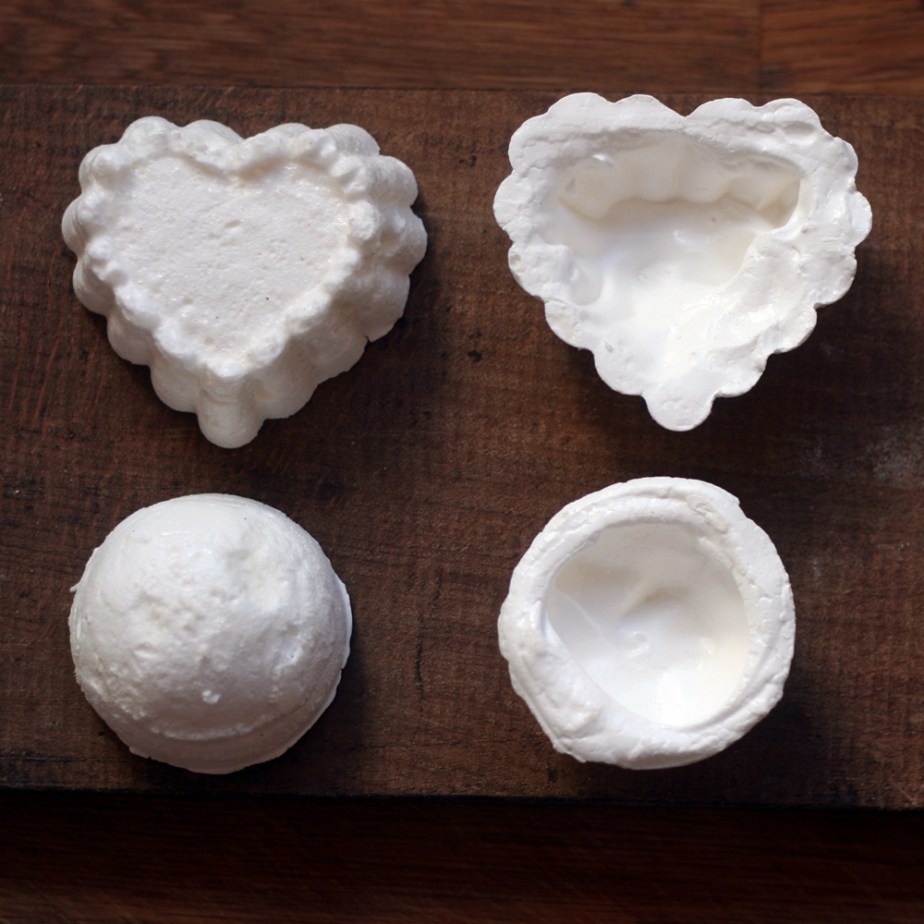
If you hollow out the meringue shapes, as seen above, not only does this reduce the drying time, but you can then use this for a hidden filling underneath, or turn the meringue the other way up and use it as a bowl for a moist and creamy filling: Eton Mess becomes Eton Tidy in an instant!
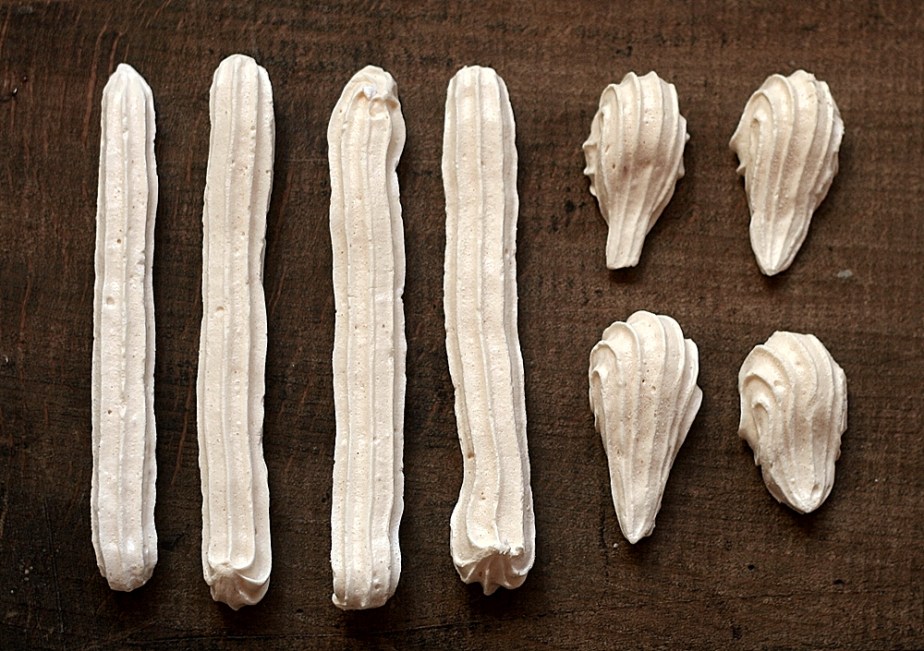
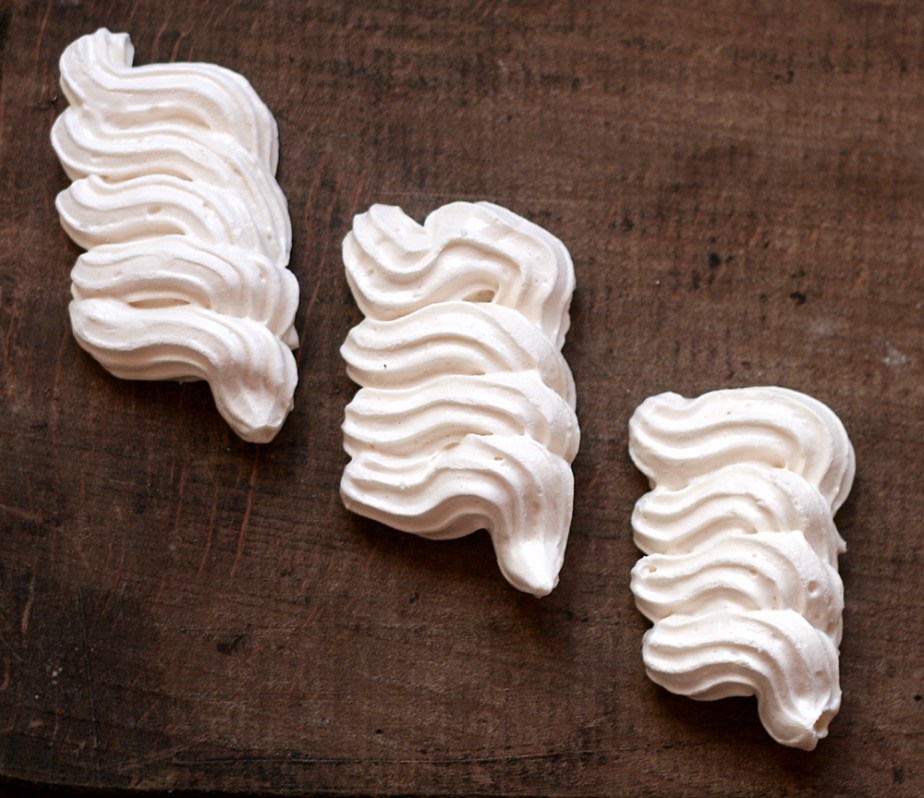
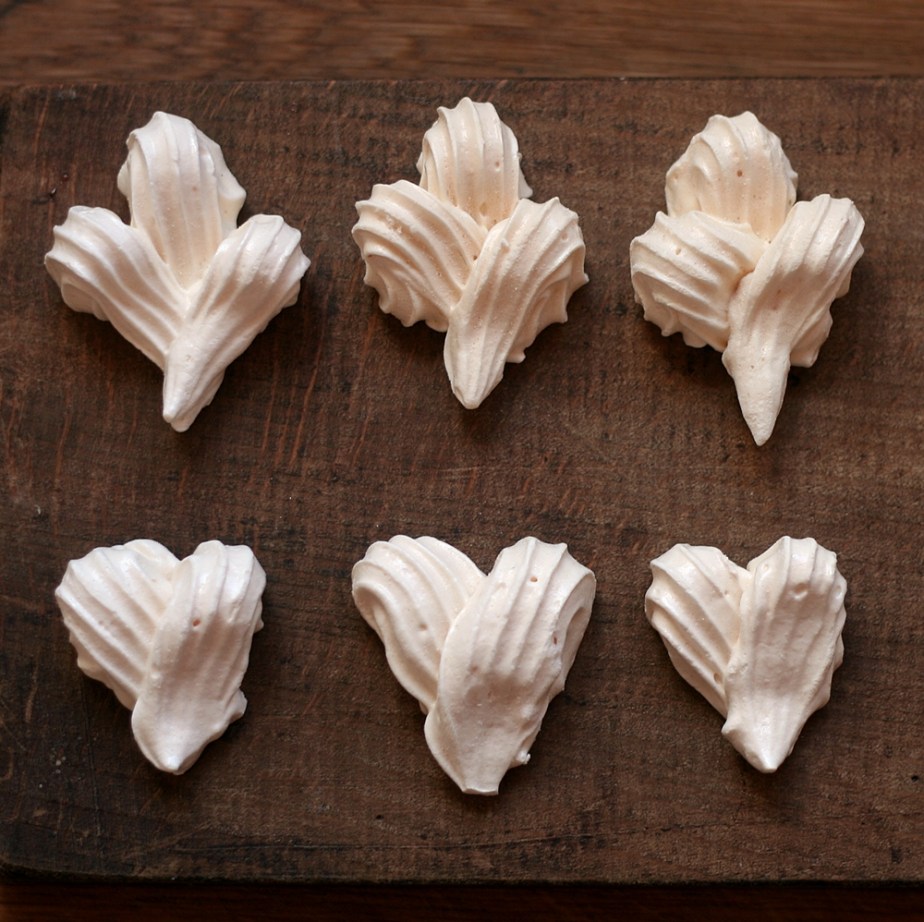
Use of piping tips
Spooned into a piping bag fitted with a shaped piping tip, Swiss Meringue is fantastic for creating shapes and designs with crisp details that hold their shape whilst baking. A few simple examples are listed below.

Swiss Meringue
450g caster sugar
300g egg-whites
- Put the egg-whites and sugar into a clean, dry bowl and set it on top of a pan of simmering water.
- Be sure that the bowl doesn’t touch the surface of the water.
- Gently stir the ingredients together until the sugar is dissolved and the temperature has reached 66°C.
- Remove the bowl from the pan and whisk the contents briskly until the mixture is cold, firm, billowy and dazzlingly white.
- Pipe onto parchment-lined baking sheets or into silicone moulds as you see fit.
To bake
The whiter you wish your meringues, the lower the temperature they need to bake, or rather, dry out. The shape will also dictate how long they require in the oven.
- Preheat the oven to 100°C, 80°C Fan.
- Bake for 1-2 hours, depending on shape, until set and firm. If you’re using silicone moulds, now would be the time to ease the meringues from the moulds.
- Reduce oven temperature to 50°C, 40°C Fan and allow meringues to dry out.
- Once cooled, store in an airtight container until required.