Following on from the Slapan last time, I have another bakestone recipe for you – Griddle Scones!
I love a scone. I willfully and shamelessly pronounce it ‘skon’ too – even though I know the etymology dictates that it should rightfully be pronounced ‘sk-ohhh-n’, because that brings images to mind of little finger outstretched and pretensions of grandeur, so I just prefer the short, humble sound of ‘skon’. Fight me.
Traditional scones are absolutely the easiest and best thing to whip up when presented with an Entertaining Emergency™. You can be serving up a batch of fragrant and hot scones in about 30 minutes – and that includes 15 minutes of baking!
Griddle scones are not that kind of scone – the time required is closer to 3.5 hours, start to finish. “Why would I bother waiting around for all that time when I can have some oven scones in just 30 minutes?” I hear you ask. I’m afraid I have no quick response, but for the fact that if you were to make these, you would then have your answer.
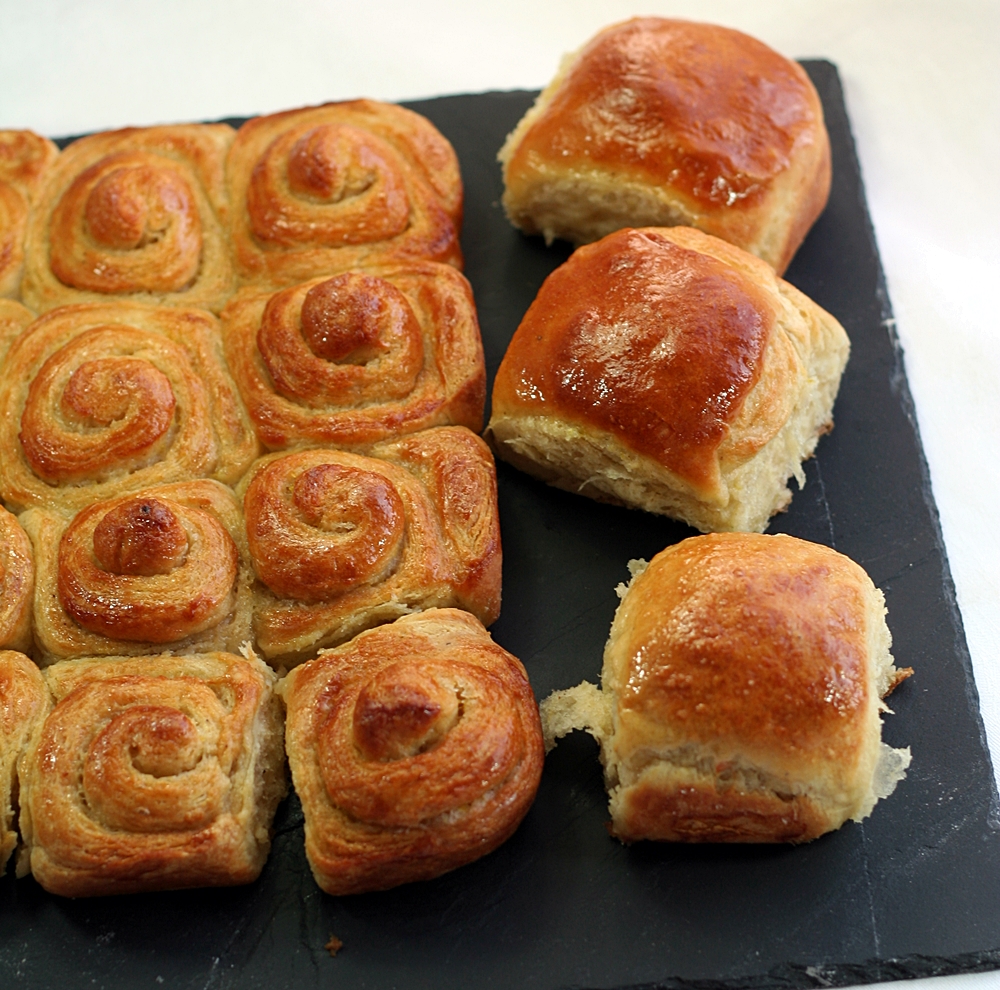
So do you like eating soft, billowy clouds? Because making griddle scones is how you get to eat sweet, billowy, buttery clouds. The yeast dough is enriched with double-strength milk, butter, eggs and sugar, and therefore it requires much longer to prove – 2 hours in the first instance. So while it’s a relatively long time, it’s not a hands-on commitment. The second rise can be up to an hour, but I recommend starting cooking half the dough after about 40 minutes – mainly because if, like me, you don’t actually possess a griddle, but do possess a rather nice non-stick pan, you can cook the first half of the dough easily, with plenty of room for manoeuvering the scones when turning them over. I have tried cooking the whole dough all at once, and it was very tricksy – plus the scones expand upwards quite considerably during baking, which was also not helpful in a confined pan space.
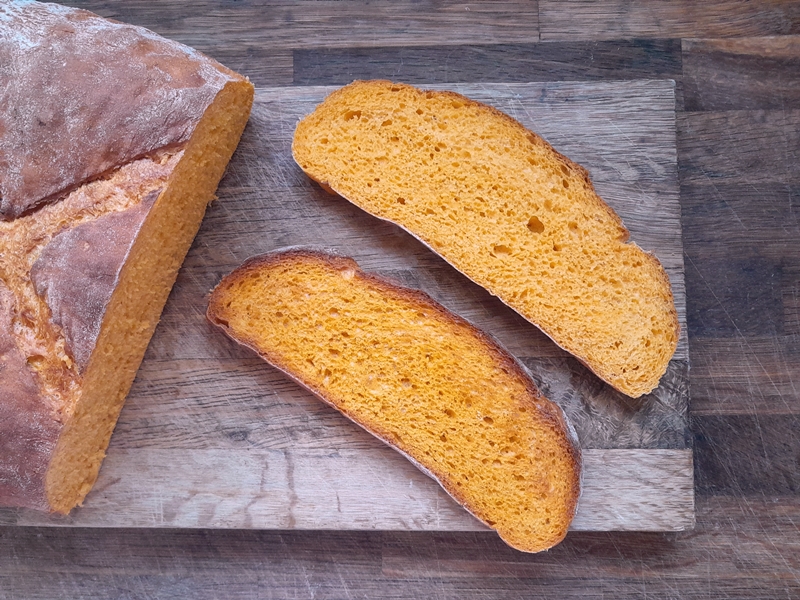
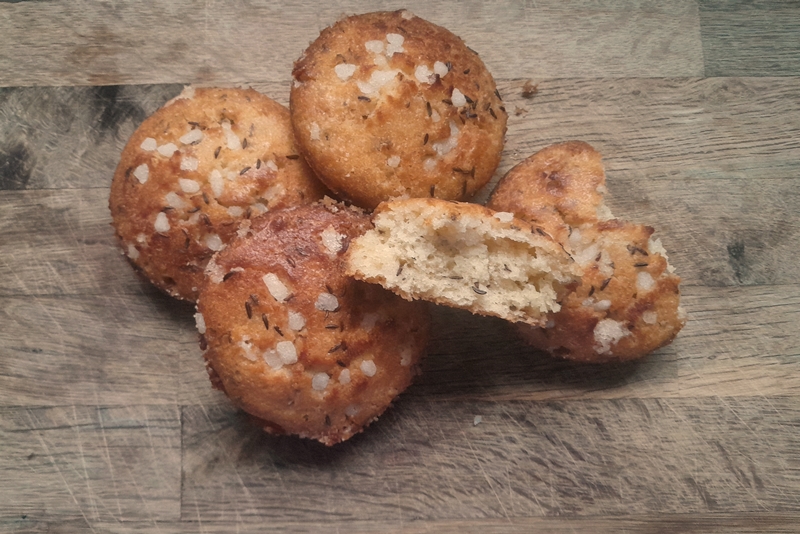
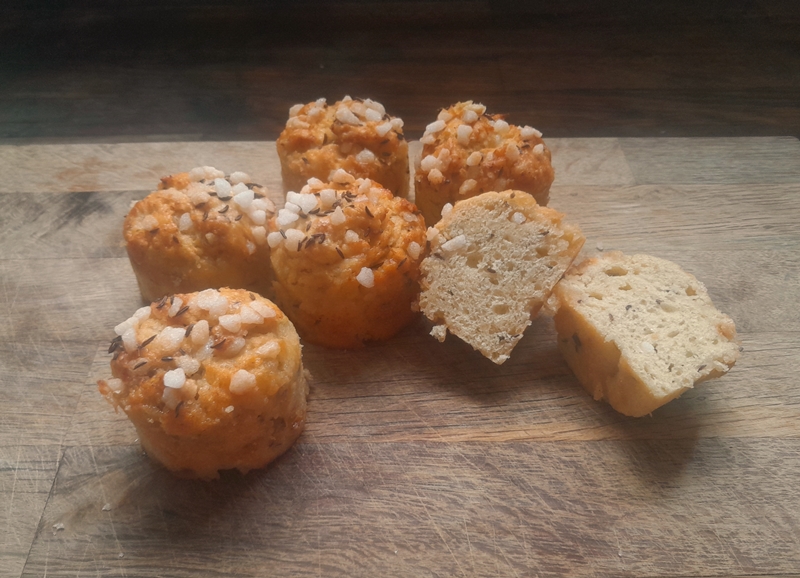
If you’re a fan of muffins then, aside from the extended rising time, this method is pretty much the same, but with one subtle difference. The enrichments of butter, sugar and egg mean that the cooked dough remains incredibly soft. Even when browned, the outsides of these scones never approaches anything remotely close to crusty. The sides of the scones are particularly delicate, and as supple as skin. In enjoying them, we must be mindful of Hannah Glasse’s advice when referring to muffins, in that they must be split/pulled apart, for to use a knife on them when hot, is to squish down the cloud of dough to something claggy and leaden. The best approach I have found is to use a serrated knife to just break the skin of the scone on the sides, then use the tines of two forks to pull the scones apart. You don’t have to use forks, of course, you can just pull them apart – but I must be lacking a bit of skill there, because I always seem to end up with one pillowy side and one thin and somewhat meagre side, and thus reduce the overall eating experience by half.
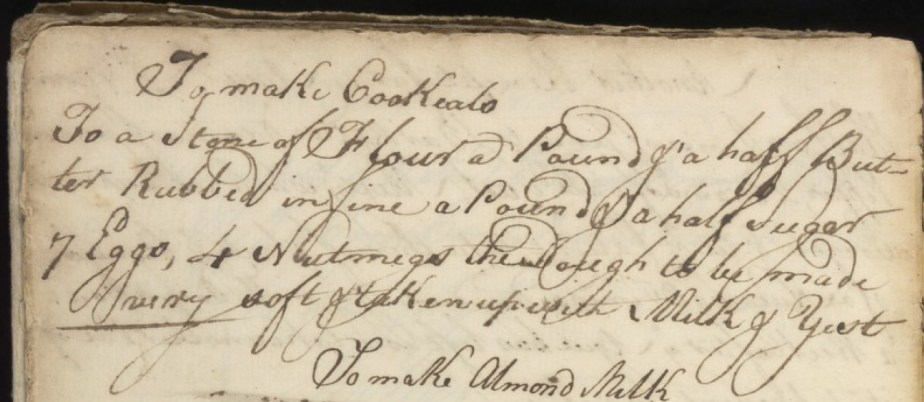
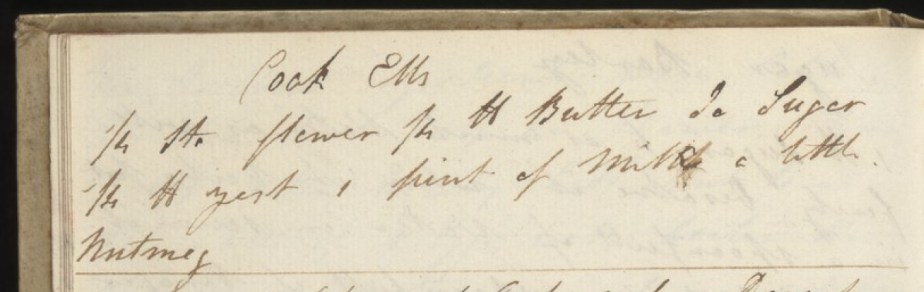
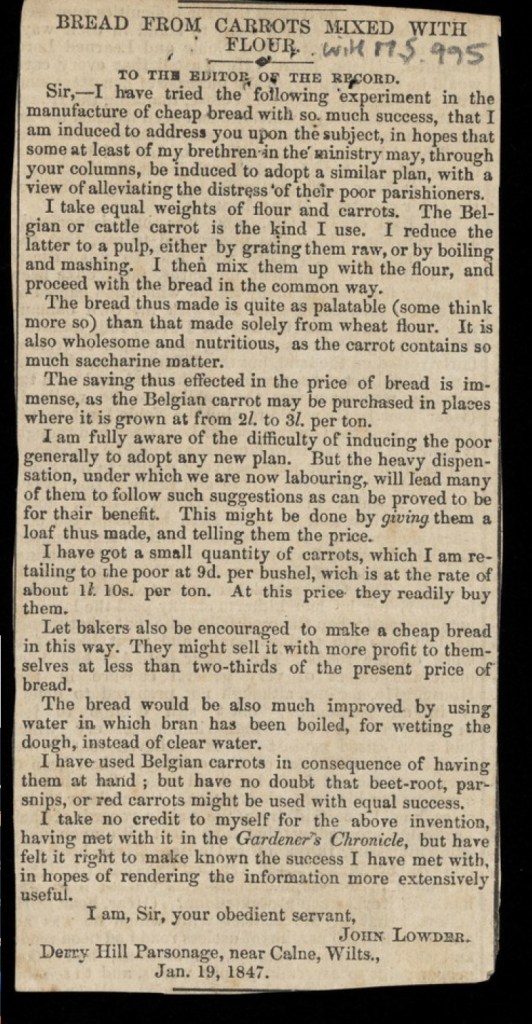
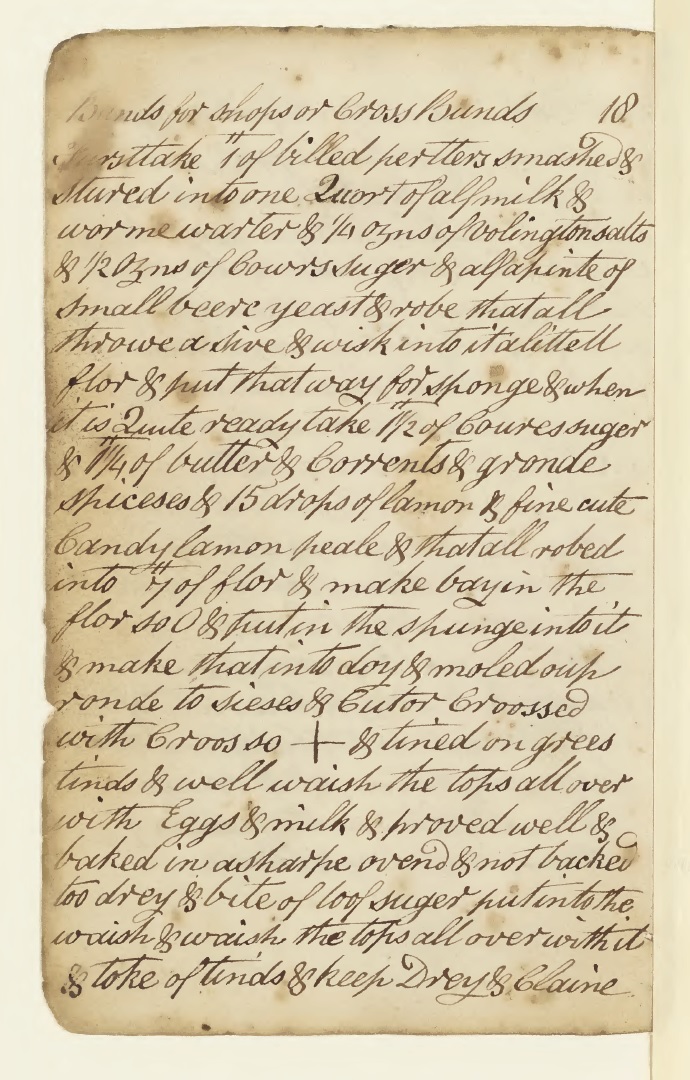
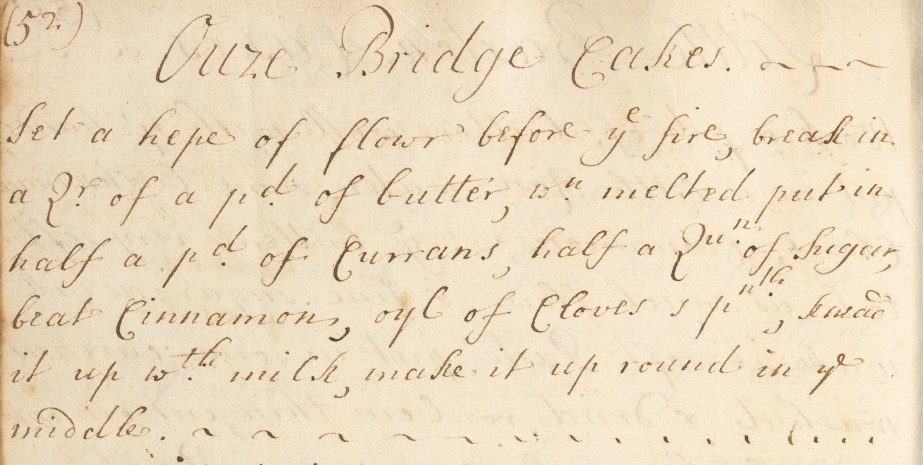
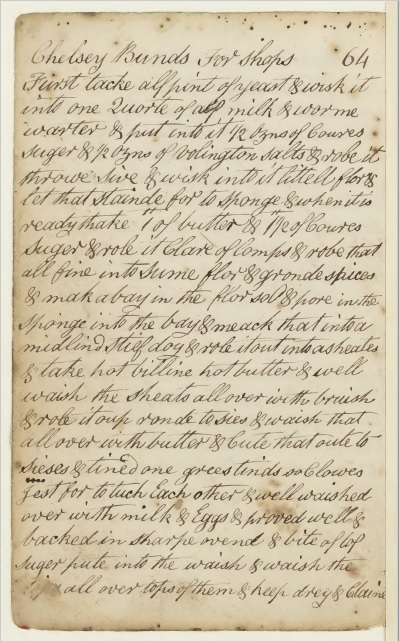
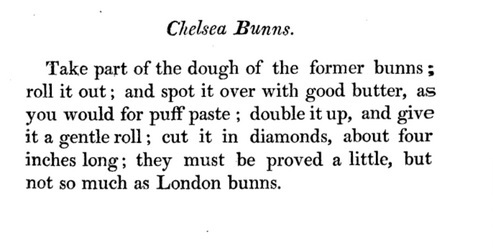
Griddle scones go back to the 19th century, but this recipe is scaled down and adapted from an absolute classic of griddle/bakestone cookery, “Morning and Hot Plate Goods” by John Boyd (undated, but thought to be 1946-ish) – a veritable cornucopia of commercial recipes from the offices of The British Baker. He calls them fermented scones, but I’ve opted for the more easily understood Griddle Scones.
Griddle Scones
This recipe has the unusual ingredient of ‘double strength’ milk, which is water mixed with twice the usual quantity of milk powder. I use whole milk powder, because that’s what I have in the cupboard, but skimmed milk powder, which might be easier to find, would be fine as well.
145ml water
30g whole milk powder
scant ½ tsp salt
45g unsalted butter
45g caster sugar
1 large egg – beaten
260g plain flour
1 sachet fast action yeast
- Put the water, milk powder, salt, butter and sugar in a small saucepan and stir over low heat until the butter melts and the sugar is dissolved. Cool to blood temperature, whisk in the egg, then pour into a bowl. Add the remaining ingredients to the bowl and stir until combined. The dough will be very soft and moist.
- Cover the bowl with plastic, or a cloth, and set aside to rise for 2 hours.
- Gently tip out the dough onto a floured surface and divide it into two (roughly 270g each). Shape each half into a circle, and pat down gently until it is 2-3cm thick.
- Using a dough scraper or similar, cut each round into triangular farls. These can be as few as four or as many as eight.
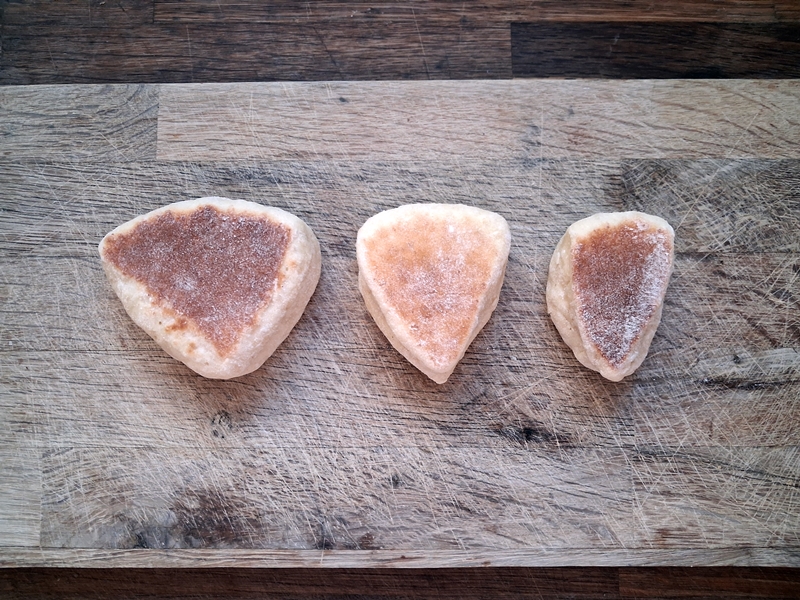
The sizes of scone you get whether cutting your round into (L->R) four, six or eight. I think six farls is probably the happy medium, unless you’re serving teeny scones for afternoon tea, in which case go with the eight.
- Slide the farls apart from one another, so that they have room to rise, and cover lightly with a cloth.
- Leave to rise for 30-40 minutes.
- Put a non-stick pan on medium-low heat (4 on my hob) and allow it to heat through. This will take about 5 minutes. You want the pan to be evenly hot throughout, otherwise your scones will cook unevenly. No need to grease the pan.
- Cook your first batch of scones. NB: As you move each scone into the pan TURN IT OVER and cook the top first. By cooking the rounded, risen ‘top’ first, and the already-flat bottom second, your scones will have a much neater shape. Not turning them over will make your finished scones rather misshapen. Still delicious, but not at their best to look at. Spread them out, avoiding the centre of the pan as it will be the hottest. Cook for 4-5 minutes until browned on the bottom, then carefully turn them over and cook until both sides are evenly coloured. Don’t worry if you turned them too early, you can flip them again once the second side is done.They will continue to rise with the heat of the pan, and will become almost wobbly, so try and turn them over in one fluid motion and then don’t touch them until they have cooked for a further four minutes. To check for done-ness, lightly rest a finger on the top of a scone and try to move it gently from side to side: if there’s no longer any wobble, the scone is cooked.
- Cool on a wire rack.
- To serve: If not eating immediately, when time to serve, warm the scones in the oven. Use a serrated knife to break the ‘skin’ on the sides of each scone, then pull apart either by hand or by using the tines of two forks. Butter generously and enjoy.