There’s nothing quite like a hearty soup for filling and warming you up on a brisk winter’s day. I’m patriotic for British food and deep down I must confess being a little resentful of the popularity of French Onion Soup. Nothing against the French, but recently, I starting pondering why we don’t have a decent British Onion Soup? After all, onions have been part of our food landscape for over 1500 years, brought by the Romans, presumably because our native alliums did not, pardon the pun, cut the mustard.
So I leapt, gazelle-like, to my collection of handwritten manuscripts to see what was occurring back in the day, and found many an onion soup, if not alive and kicking, then robustly chopped and simmering for many a decade.
I have selected three such soups for your delectation today, each of them delicious (obvs), each of them different in subtle, surprising ways. In deference to modern eating habits, one is vegan, one is vegetarian and one is whipped up with an unashamedly meaty stock.
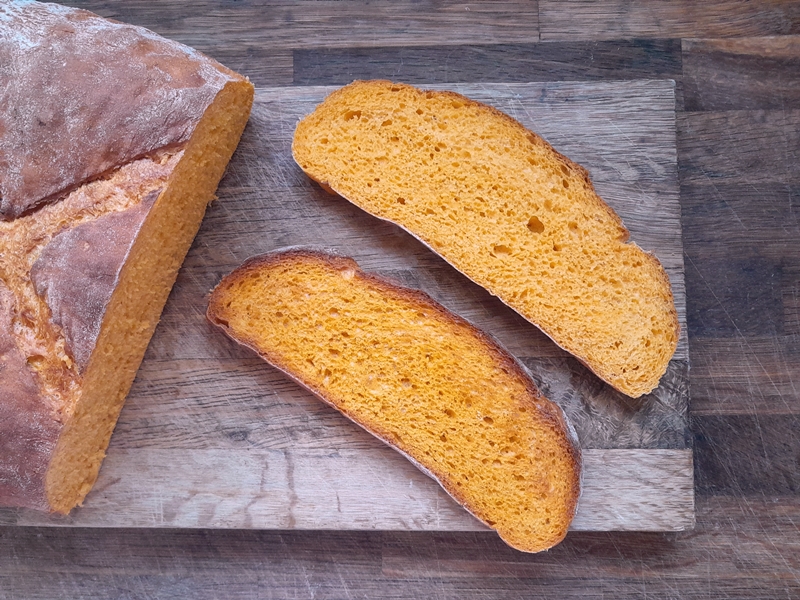
Feel free to serve your onion soup with whatever garnishes take your fancy: crusty bread, cheesy croutons, spring onions/chives, grated cheese…
Which ever you choose, I hope you’ll enjoy warming yourself up with some/all of them .
White Onion Soup, circa 1820
Gluten-free.
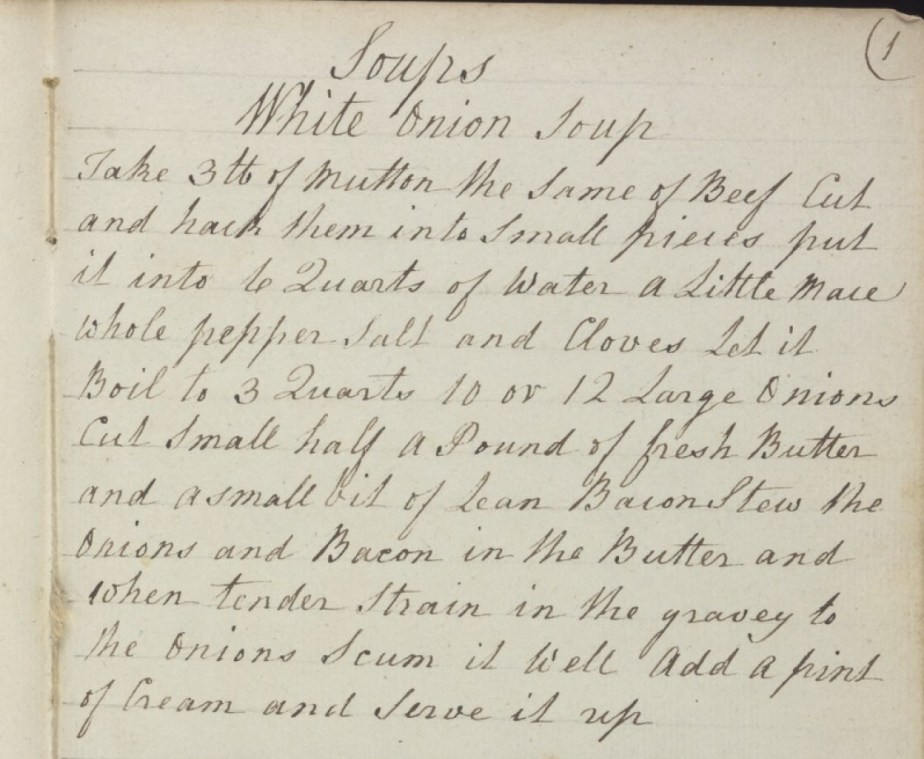
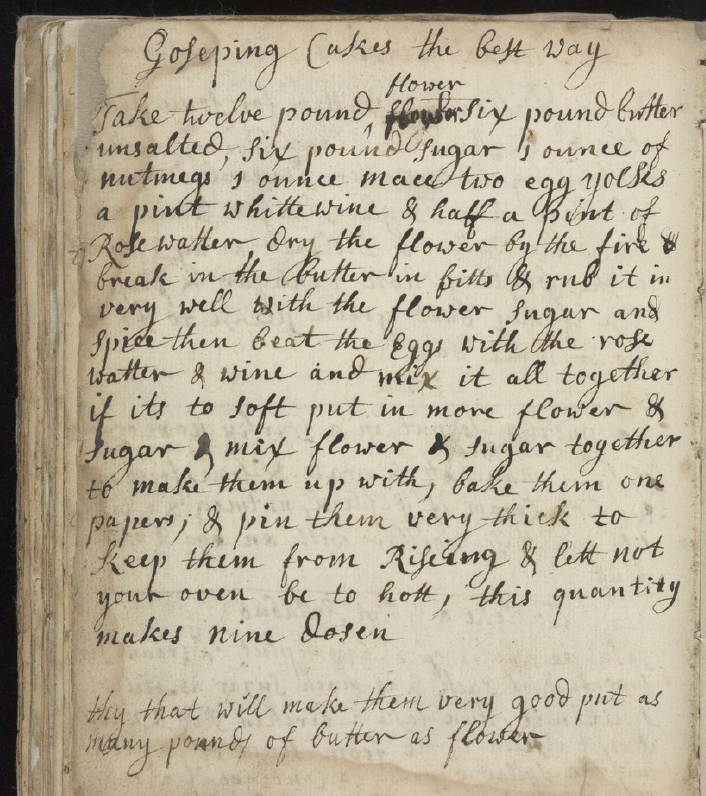
This recipe caught my eye first and foremost because it is the first recipe in an anonymous, early 19thC manuscript. I like to imagine the author excitedly beginning a new recipe collection and what’s their first choice? Boom! White Onion Soup! I, not unreasonably, assumed this would be a banger of a recipe. I was also intrigued because of it’s title – specifying ‘white’ – unlike the majority of the onion soup recipes. It isn’t in reference to a specific type of onion, so I thought maybe it was for something cream or milk-based, thus resulting in a light-coloured soup. Turns out, it is quite the opposite, as the cooking liquid is made from two very meaty stocks of lamb and beef, and the onions are initially simmered with some lean ham/bacon. After much thought, I’ve come to the conclusion that ‘white’ refers to how the onions are treated, i.e. not browned or coloured. In each white onion soup recipe I found, the onions were either gently stewed in butter or initially parboiled in water. Cream was added at the end, as is recommended in this recipe, but having tasted this soup both before and after the addition of cream, my recommendation is to omit it altogether: the mix of meat broths give a light and delicate flavour that is as savoury as it is surprising, given its dark colouring. It is deliciously complex.
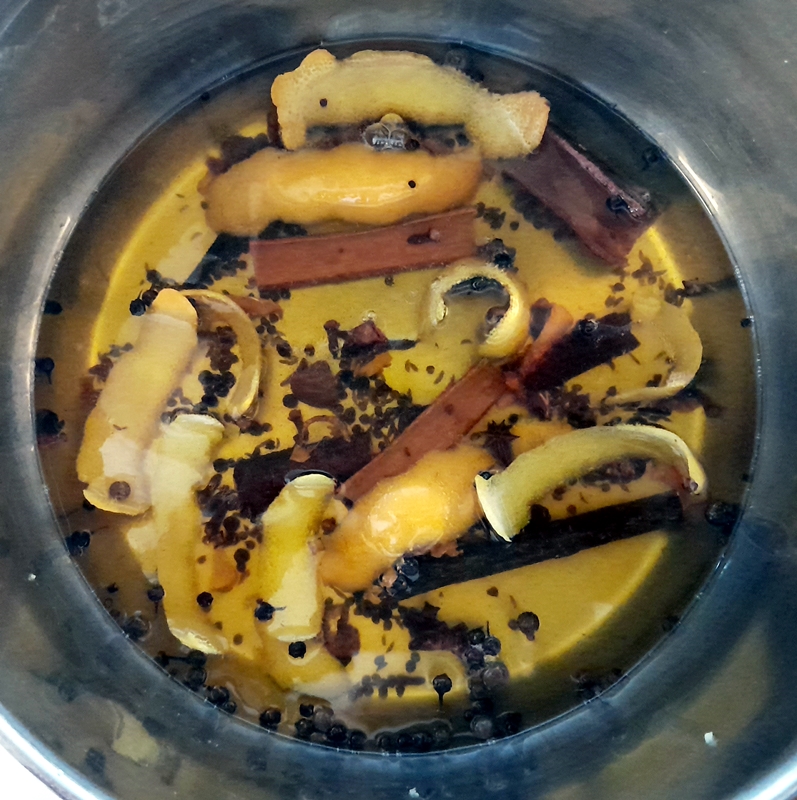
For the stock
2 strong beef stock pots/cubes
2 lamb stock pots/cubes
1 blade of mace
3 whole cloves
1 tbs black peppercorns
2 litres water
800g brown onions
120g unsalted butter
½ gammon steak or 120g lean back bacon
salt and pepper
cream to taste (optional)
- Put the ingredients for the stock into a large saucepan.
- Bring gently to a boil, stirring until the stock pots have dissolved, then turn down the heat and simmer, uncovered, for about an hour, or until reduced to 1.5 litres.
- While the stock is simmering, peel and chop the onions finely.
- Melt the butter in a pan and add the onions and gammon/bacon and toss to coat.
- Cook the onions in the butter over a low heat, stirring occasionally, until softened and translucent. Stir to keep them from catching any colour.
- When the stock is ready, strain out the solids and return the stock to the saucepan.
- Remove the gammon from the pan, then add the softened onions and butter to the stock.
- Simmer the soup for 10-15 minutes, then taste and adjust the seasoning with salt and pepper. Since the stock pots are already quite heavily salted, you may not need anything further.
- Chop the gammon/bacon finely and return to the soup if liked, or use it elsewhere (sandwich, salad, omelette, etc).
- Serve hot, with cream if preferred.
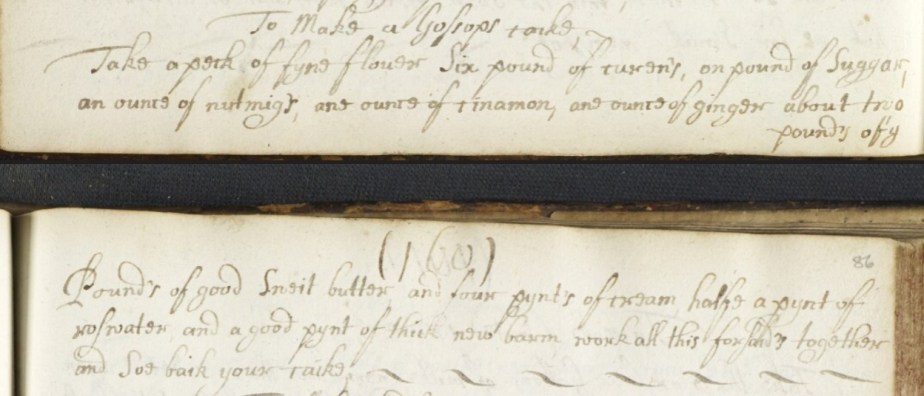
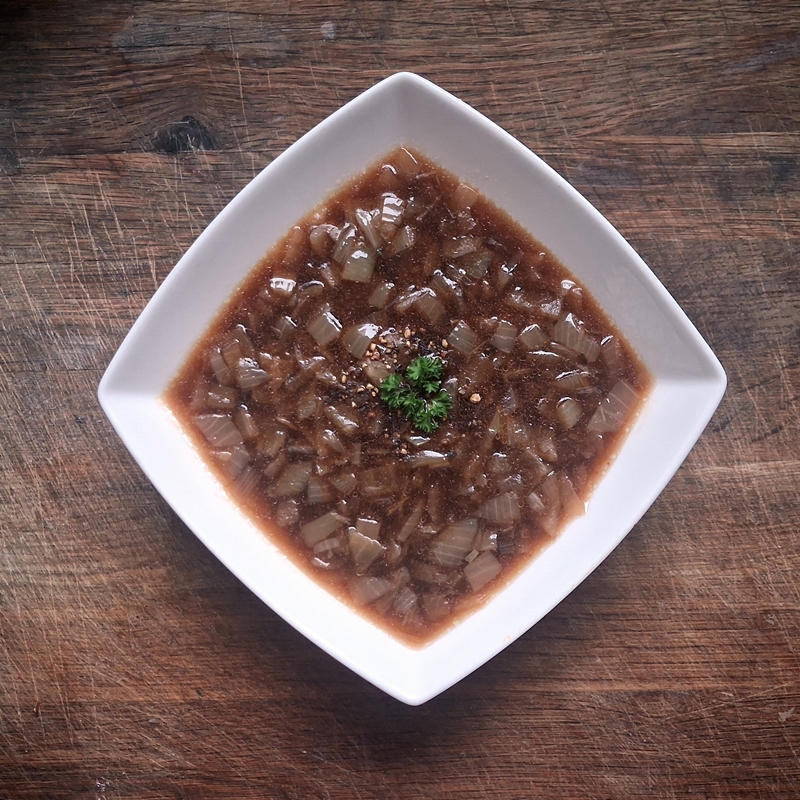
Late Stuart Onion Soup, circa 1700
Vegetarian. Gluten-free.
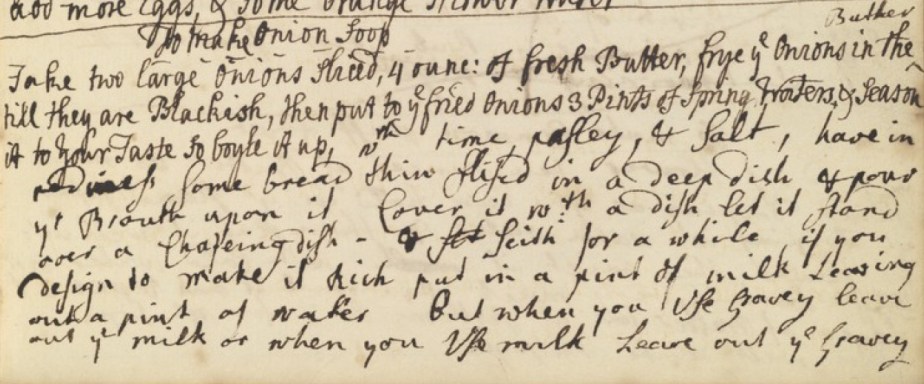
This onion soup is about a century older than the one above, and is the kind of recipe I love in that it gives several options when making it to tailor it to your own personal tastes. I do love multi-purpose recipes! This is a recipe where the onions are browned/caramelised, and you can feel free to decide how dark to take them, according to your personal preference. The recipe actually calls for them to be ‘blackish’, which I think is a bit far, but certainly they should be brown and maybe a little dark on the edges also.
I love the addition of the fresh herbs in the cooking liquid, adding a real savoury note to the soup. This recipe also suggests ways in which the soup can be enriched, either by the addition of milk or broth for the cooking liquid, but only either one or the other, never both together. Adding milk to hot liquids can be tricky, because it is prone to curdling if you take your eye off the pan for a second and the soup gets too hot. One solution would be to use double cream, as the additional fat content helps to prevent curdling, but this might prove too rich for some palates. I recommend using a small can of evaporated milk: its caramel notes being very complimentary to the browned onions, and also much less likely to curdle.
800g onions
1 level tsp salt
125g unsalted butter
1200ml cold water
3 sprigs fresh thyme + more to garnish
12 stalks fresh parsley + more to garnish
EITHER evaporated milk – 1 small tin (170ml) or to taste from a large tin (410ml) OR 500ml beef stock
black pepper to taste
- Peel and slice the onions into semi-circles.
- Melt the butter in a large pan, preferably non-stick
- Add the onions and cook slowly over a medium-low (6 of 9) heat, stirring occasionally, until browned to your liking. This will take a while, probably 30 minutes or more. Sprinkling the onions with the salt will help draw out their moisture and speed up the browning process a little.
- When the onions are browned to your liking, add the water, thyme and parsley.
- Simmer with the herbs for 20-30 minutes. NB Fresh thyme can be quite potent, so check along the way how your soup is tasting – you might want to fish out the thyme stalks sooner rather than later.
- Add your enrichment liquids – either evaporated milk or beef stock – and heat through.
- Taste and adjust the seasoning to your palate.
- Serve.
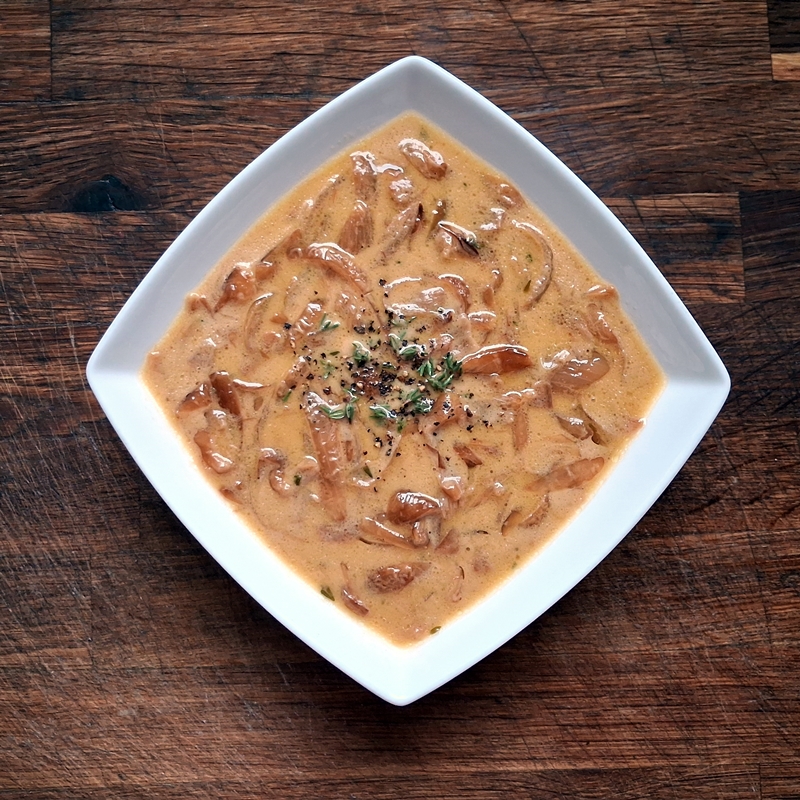
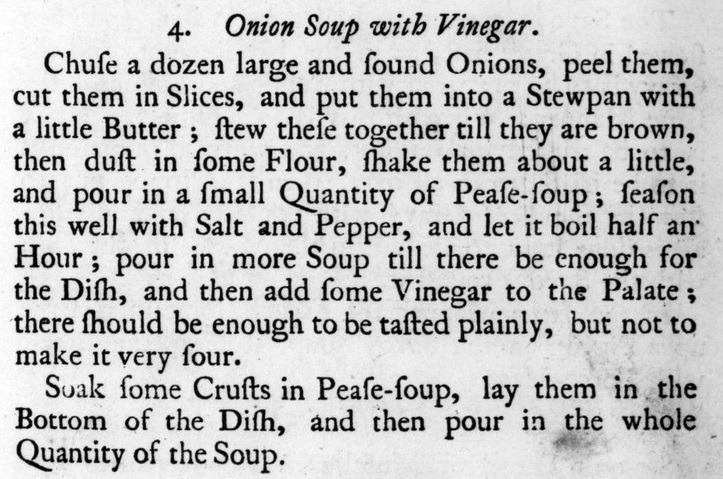
Martha Bradley’s Onion Soup with Vinegar, 1758
Vegan. Vegetarian. Dairy-free. Gluten-free*.
This onion soup recipe is the most surprising of the three. I have adjusted it slightly in order to make it vegan (oil for butter), but that’s not what is surprising.
No, the surprising part is the flavour: bold and hearty with a real punch of richness and then brightness brought by the vinegar. I looked up this rather unusual combination, and found several versions, some of which were entitled “Drunk Soup” and emphasized the restorative properties of such a soup when recovering from over-indulgence: the sweetness of the onions providing restorative energy to the body and the vinegar providing balance to the fat/richness.
Another unusual aspect is the use of another soup to give body to the onion soup. ‘Pease soup’ is made from dried peas, not fresh garden peas, and is usually simmered with a ham hock in the making to give a thick and hearty soup. Obviously that wouldn’t do if I was to keep this recipe vegan, so not having any dried peas to hand, I opted for a tin of lentil soup, reasoning that both peas and lentils are farinaceous in texture and also vegan. I figured I could switch things around later if the recipe showed promise. However, it made for such an extraordinary soup I had absolutely no notes, so the recipe neither needed nor got any further tweaks.
It is my favourite of all three soups and epitomises why old British recipes are worthy of perseverance: this recipe was just tucked away in a relatively unknown, mid-eighteenth century book and it turns out to be a classic.

600g brown onions
2tbs vegetable oil
2 level tbs cornflour
salt and pepper to taste
1 x 400g tin Heinz Lentil Soup*(See note [1] below)
1-2tbs vinegar (your choice of type)
- Peel and slice the onions either in half moons or vertically.
- Add the vegetable oil to a large pan and tip in the onions.
- Stir the onions over a medium-low heat (6 of 9) until softened and browned. Again, you can take the browning to whatever degree you like, but a mid-brown will take about 30 minutes.
- Add the cornflour and stir in. Cook for a couple of minutes.
- Open the tin of soup and pour into a bowl. Fill the tin with water and add it to the bowl. Use a stick blender to puree the mixture smooth, then pour the blended and diluted soup into the onion mixture.
- Stir the soup/onion mixture. It will thicken quite quickly. Decide whether the soup is thick enough or too thick for your tastes. Add another soup-tin of water to dilute it, if liked.
- Add vinegar of your choice. This can be any kind of vinegar: white, distilled, rice, sherry, malt, wine, cider, balsamic – whatever you have to hand. I would caution you to add a teaspoon at a time and stir it in thoroughly before tasting and adding more. A relatively mild white balsamic might require the full two tablespoons, but distilled vinegar merely a teaspoon or two.
- Heat through and serve.
[1] Heinz Lentil Soup is vegan, even though it only says Vegetarian on the tin. It contains wheat flour (presumably for thickening purposes), making it not strictly gluten-free. I have developed some sensitivity to gluten, and yet I experienced no adverse effects, which leads me to assume it is only there in trace quantities. Not everyone is the same, so in order to keep this strictly gluten-free, I recommend making your own lentil/split-pea soup. My suggestion is for using yellow split peas due to their colour (a better match to the caramelised onions than green peas – although I could be wrong. Let me know!), dried black Carlin peas or even dried white beans/peas.