It struck me recently that I haven’t posted many pudding recipes of late – and this is a bit of a failing, because who doesn’t enjoy a nice pudding for breakfast at the end of a delicious meal? Consequently, I thought I’d pick a recipe from one of the books on my shelf, and so here we are with a tale of one recipe, two puddings. Two variations on classic British dishes that are sure to delight young and old.
Now – SPOILER ALERT! – I have a few cookbooks and I must confess I have not read all of them cover to cover. So I’ve decided to make a concerted effort to dig into them more frequently, to hunt out the culinary gems that might be languishing inside.
My current selection is a slim paperback volume entitled “Party Treats: Ulster Home Cooking At It’s Best”. No author, no publication date (my guess would be 1980s/1990s), no introduction, in fact none of the conventions of a published book, it’s just straight into the recipes, no messing about.
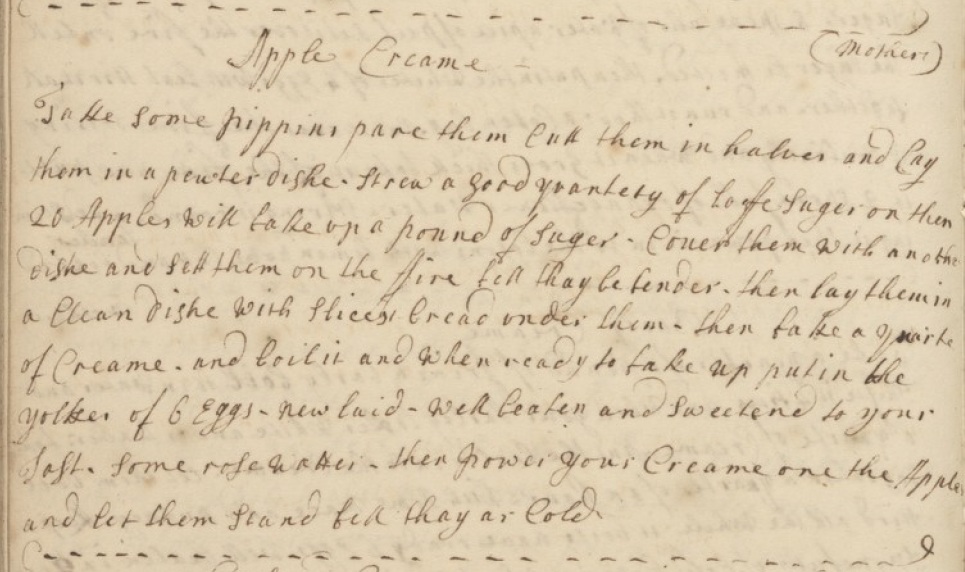
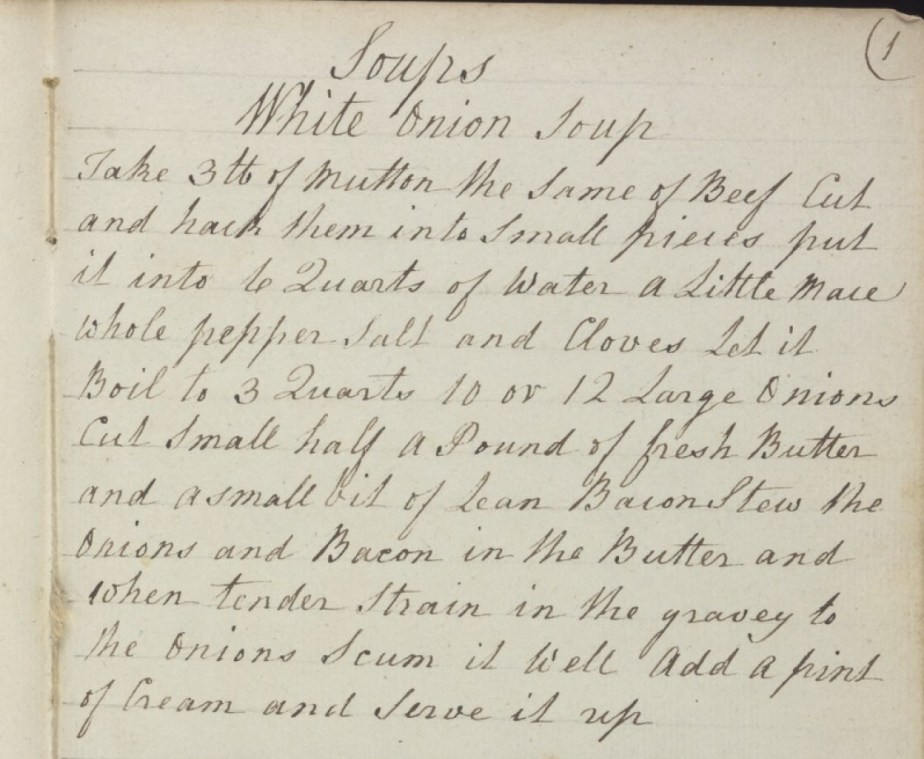
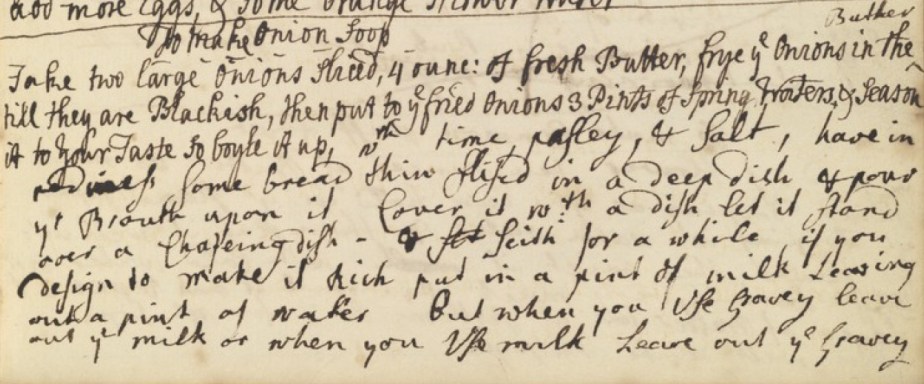
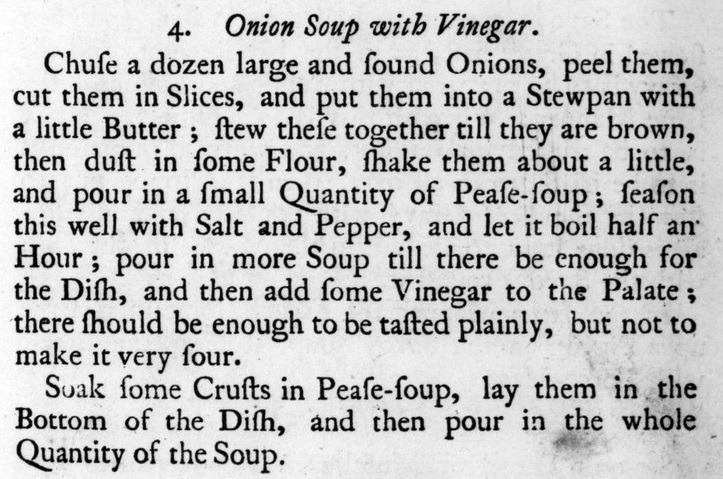
In all honesty, some of the recipes leave a bit to be desired in terms of details: the lack of oven temperatures and timings in this book reminds me of the classic manuscript recipes of the 1700s which end with an airy “and so bake it”.
ANYHOO…
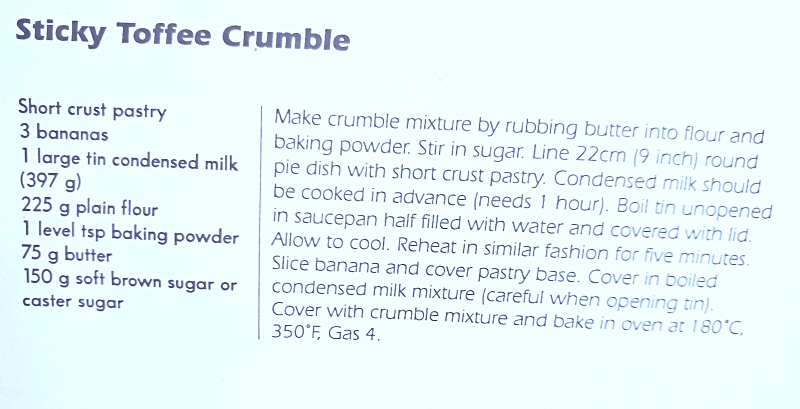
The recipe that caught my eye – because it was mentioned on the back cover – was Sticky Toffee Crumble. Quite piqued my interest, because I am a fiend for a good crumble, especially one including oats.
However, when I turned to the relevant page, what I found was a recipe for, essentially, Banoffi Pie Crumble. Not what I was looking for, but then again, nothing to be disappointed about either.
I decided I was still going to try it, and just to make things interesting, make it gluten-free. I also substituted my own crumble topping recipe from this pie (also very delicious – you should go try this one as well!) and my favourite cornflour shortcrust pastry. Since I also renamed the recipe and added baking times and temperatures, I managed to replace practically everything in this recipe bar the initial inspiration. That’s just the way the pudding crumbles.
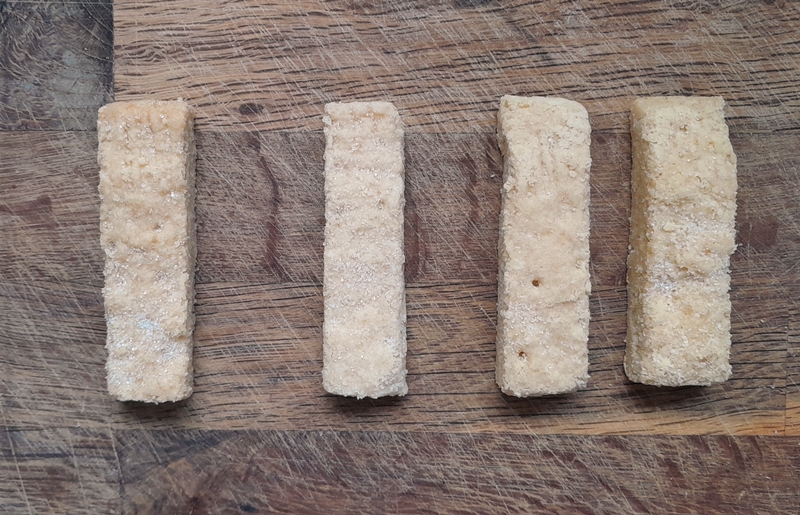
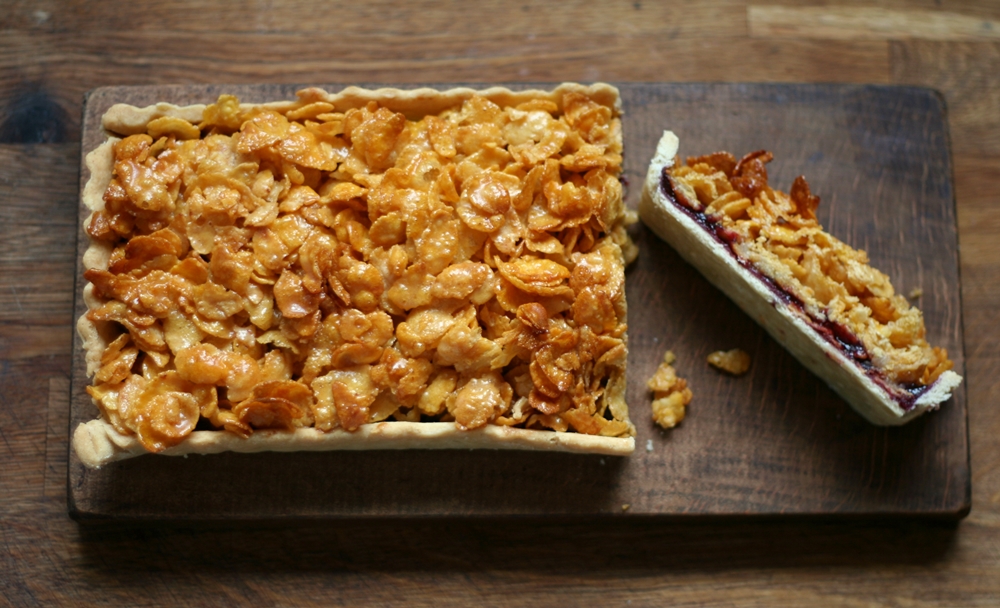
And it was everything I hoped, with added crumble! The dry crispness of the cornflour pastry is a fantastic contrast to the richness of the caramel filling, and the buttery saltiness of the crumble. The oats add great texture and the cooking of the bananas really intensifies their flavour. I experimented with the placement of the bananas, since the original Banoffi Pie called for them to be placed on top of the caramel, but beneath the caramel is definitely the way to go: as can be sen in the top picture, their colour and texture are preserved. Bananas placed on top of the caramel (and under the crumble) became dark and chewy – not altogether a bad thing – but having tasted both, the way stated in the original recipe is by far the best.
All these positive points notwithstanding, it wasn’t the original Sticky Toffee Crumble, which had originally drawn me to this recipe.
So I set off on a hunt for a Sticky Toffee Pudding recipe that could be adapted to the crumble pudding of my imagination. I didn’t have to look far because I came across “The Flavour of Britain” (1978) edited by Kenneth Mitchell (available at The Internet Archive). Not because it is a best seller – I have no idea how successful it was – but because of the provenance of the recipe, in small text, at the bottom of the page:
Acknowledgement to: Sharrow Bay Country House Hotel, Lake Ullswater, Cumbria.
As some of you may know, the Sharrow Bay hotel was where Sticky Toffee Pudding (STP) was popularised in the 1970s by Francis Coulson and Robert Lee. Sidebar: the Wikipedia page claims the pudding was invented in Yorkshire in 1907, with no reference to back the claim, which is disappointing in several ways. Do better, Wikipedia. As far as recipe provenance goes, this is pretty definitive, in my opinion, so it is the one I’m going with.
Now, aficionados and experienced makers of STP will already be aware, the raw mix for the pudding is incredibly liquid, much more so than even a sponge cake batter, so adding crumble to the raw mixture is just not going to work. After a bit of experimentation, the solution is to add the crumble during baking, when the mixture has cooked enough to support it, but also while there’s still time enough for the crumble to bake through.
And so with all that, LET’S GET READY TO CRRRRUUMMMMBLLLLLE!!! (I am so sorry)

Banoffi Pie Crumble
Serves 4-8 people
(In the UK) You can buy tins of Carnation Caramel (sweetened condensed milk transformed into the toffee filling) in the supermarket. I find it sweeter than the older, traditional method of making your own, and the set is not as firm unless well chilled in the fridge. Alternatively, you can make your own by putting tins of regular condensed milk into a slow cooker filled with water (enough to cover the tins well), and cooking on Low for 8-10 hours (I usually cook them overnight). NB DO NOT open tins until completely cooled.
Serving suggestion: Just to reinforce the origins in Banoffi Pie, you could serve this crumble, warm or cold, with the original topping of unsweetened whipped cream flavoured with espresso coffee powder, on the side.
I made 4 x 10cm square small-ish tarts. The resulting tarts were quite substantial and one tart would make a generous serving for 2 people, hence the range of serving portions suggested above.
Cornflour Shortcrust Pastry
60g cornflour
225g plain gluten-free flour (I used Doves Farm GF White Bread flour) [1]
140g butter
ice-cold water
- Put all the dry ingredients into the bowl of a food processor and blitz until the mixture resembles breadcrumbs.
- Gradually add the water, one tablespoon at a time, until the mixture comes together in a ball.
- Knead smooth, then roll out thinly (3-4mm).
- Cut baking parchment to fit your tart tins.
- Line your chosen tart tins, first with the parchment paper, then with the pastry, easing the pastry into the corners/sides.
- Leave the excess pastry overhanging the sides and put the tart tins to rest in the fridge until required.
Crumble Mixture
30g butter
30g lard
30g light Muscovado sugar
90g Doves Farm gluten-free plain white flour
1/2 tsp xanthan gum
1/4 tsp of salt
60g gluten-free steel-rolled oats[2]
- Put everything except the oats into a food processor and blitz briefly until the mixture resembles breadcrumbs.
- Pour the mixture into a bowl and add the oats. Stir to combine.
- Set aside until required.
1 x 397ml tin sweetened condensed milk (OR a tin of Carnation caramel)
2-3 bananas
To Serve
300ml double cream
1-2 tsp espresso coffee powder
- (The day before) Turn your condensed milk into caramel by cooking in a slow cooker for 8 hours. Allow to cool.
- Make the shortcrust pastry as above.
- Heat the oven to 200°C, 180°C Fan.
- Retrieve the tart tins from the fridge and trim and crimp the edges.
- Slice the bananas and arrange the slices in the bottom of the tart tins.
- Open your tin of caramel and tip into a small pan. Warm gently (it makes it easier to spread).
- Add just under 90g of caramel to each tart. Spread evenly over the bananas.
- Spoon ¼ of the crumble mixture onto each tart.
- Arrange the tins on a baking sheet and bake for 30 minutes, turning the tins around after 15 minutes to ensure even colouring.
- Set aside to cool.
- If liked, chill in the fridge once cooled, until required.
- To Serve: Whisk together the double cream and the espresso powder and serve on the side.
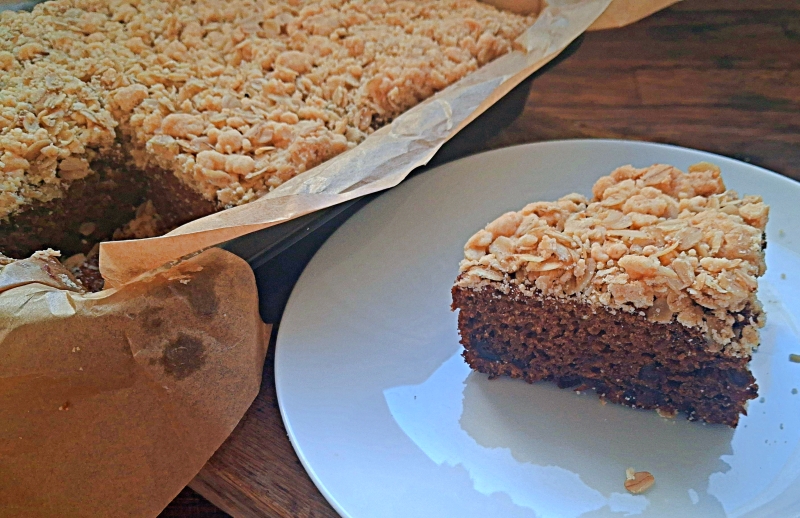
Sticky Toffee Crumble
I used a 20cm square tin for this. The recipe says it serves six, but when I measured out the dimensions for six servings, they were alarmingly large. Of course, serving numbers are just arbitrary numbers. With a spoon and a can-do attitude, referring to this as a ‘serves one’ recipe could prove just as valid. ANYHOO… What with the overarching sweetness, the addition of the crumble and the rich indulgence of the sauce, I’m going to recommend this as sufficient for 8-12 servings. Whether those servings are subsequently all consumed by the same individual is beyond my purview and we can gently lower the cone of discretion over the whole subject.
60g Stork margarine or softened butter
175g soft, dark brown sugar
1 large egg
200g Doves Farm gluten-free plain white flour
1tsp xanthan gum
1tsp baking powder
250ml water
175g pitted dates, cut into small cubes
1tsp bicarbonate of soda
1 tsp vanilla extract
Crumble mixture (see above)
Toffee Sauce
150g unsalted butter
200g soft, dark brown sugar
100ml double cream
¼ tsp salt
- Line a 20cm square tin with baking parchment.
- Heat the oven to 180°C, 160°C Fan.
- Pour the water into a small pan and bring to the boil.
- Remove the pan from the heat and add the chopped dates, bicarbonate of soda and vanilla. Stir. Set aside to soften for 5 minutes.
- Sift together the flour, xanthan gum, baking powder.
- Put the fat, sugar and egg into a bowl and whisk until combined.
- Add the flour mixture in two batches, stirring well until combined.
- Add the date mixture – yes, including the water – and mix thoroughly. Get right to the bottom of the bowl with a spatula to ensure everything is fully combined.
- Pour the mixture into your prepared tin.
- Bake for 25 minutes.
- After your cake has been baking for 25 minutes, lide the shelf with the tin on halfway out of the oven and sprinkle over the crumble mixture. Make sure it gets right to the edges/corners.
- Gently slide the shelf back into the oven and bake for a further 20-25 minutes, until the cake is cooked through and the crumble on the top crisped and lightly browned.
- Remove from the oven and set aside to cool slightly.
- Mix the toffee sauce.
- Put all of the ingredients into a small saucepan and heat gently, while stirring, until the butter has melted and the sugar dissolved.
- Simmer over a gentle heat for 3-5 minutes until ready to serve.
- Slice the cake into portions and serve with the sauce either poured over, or on the side.
[1] You can also use plain gluten-free plain flour, but be sure to check if it contains xanthan gum. Doves Farm Gluten Free Plain White Flour does not. You can add it yourself – 1 teaspoon for this quantity of flour. Xanthan gum is available in the gluten-free aisle of most supermarkets.
[2] I prefer the gluten-free oats sold in Morrison’s because they look like regular steel-rolled oats. Whatever process is involved in removing the gluten, it seems to take a very large toll on the gluten-free oats sold by other brands, and they come out looking very crumbly and ¾ of the way to flour. The Morrison’s GF oats look altogether prettier.