Another two-for-one recipe for you this week, based on traditional regional recipes: Guildford Manchets and Lardy Buns, both from the county of Surrey.
Both of these recipes come from Elizabeth David’s classic English Bread and Yeast Cookery (1980). I’ve grouped them together because, with one slight difference, they are made the same way. Also, I like how they are related to two other recipes I’ve already published, from other countries.
According to Mrs David, the recipe for Guildford Manchets originates from “The Surrey Cookbook”, a collection of recipes gathered and published by the Women’s Institute in 1932. The Lardy Buns are listed immediately following, and so the inference is that these too come from Surrey. Whilst it is conceivable that these recipes stretch back into the 19th century, I think it would be a mistake to claim they are medieval in origin, just because they are called ‘manchets’. Yes, there were, of course, medieval manchets, but I’m not entirely sure these are them. I am reminded of the furore that occurred back in 2020 when an American researcher claimed the Cornish pasty was actually ‘invented’ in Devon – the audacity! – merely because he had found the word ‘pasty’ in a 17thC document in the Devon archives. (Sidebar: I almost got a detached retina from the degree of eye-roll that bit of guff precipitated, especially given the fact that, for starters, the National Archives at Kew hold a document from 1296 that mentions “Simon Le Pasteymaker”.)
ANYHOO…
Both buns are made in the same way, by rolling in additional fat to plain bread dough, the only difference being that Guildford Manchets are made with a combination of lard and butter, and Lardy Buns are made solely with lard. The method is similar to that used to make flaky pastry: rolling out the dough, dotting over the fat, then folding and re-rolling, repeated three or four times. In times past, housewives could buy plain dough from the local baker, and use it for their own needs. It’s a shame that nowadays, the only non-standard purchase we are able to make from a bakery is fresh yeast.
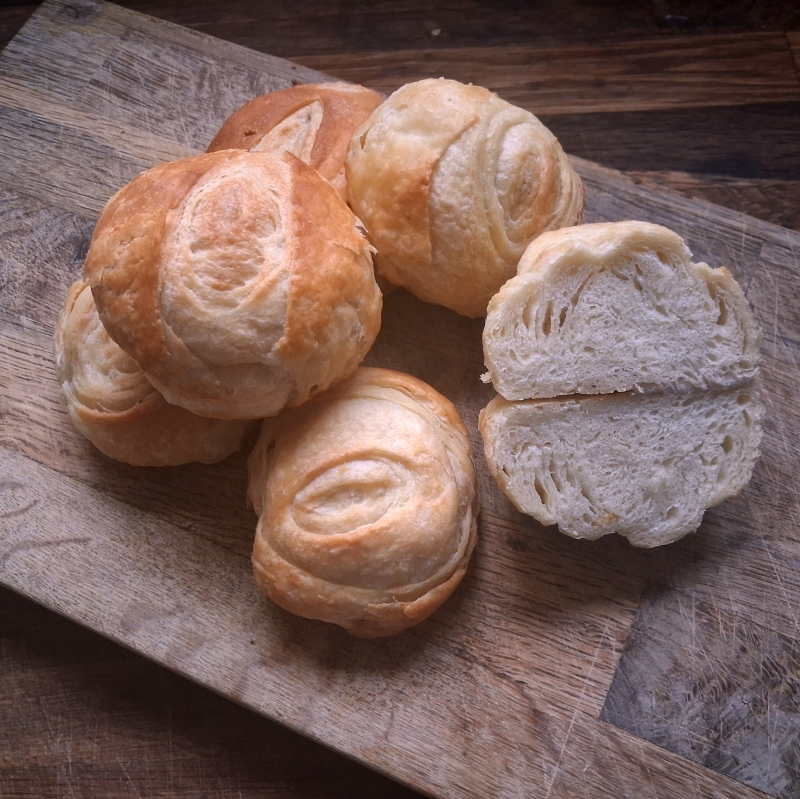
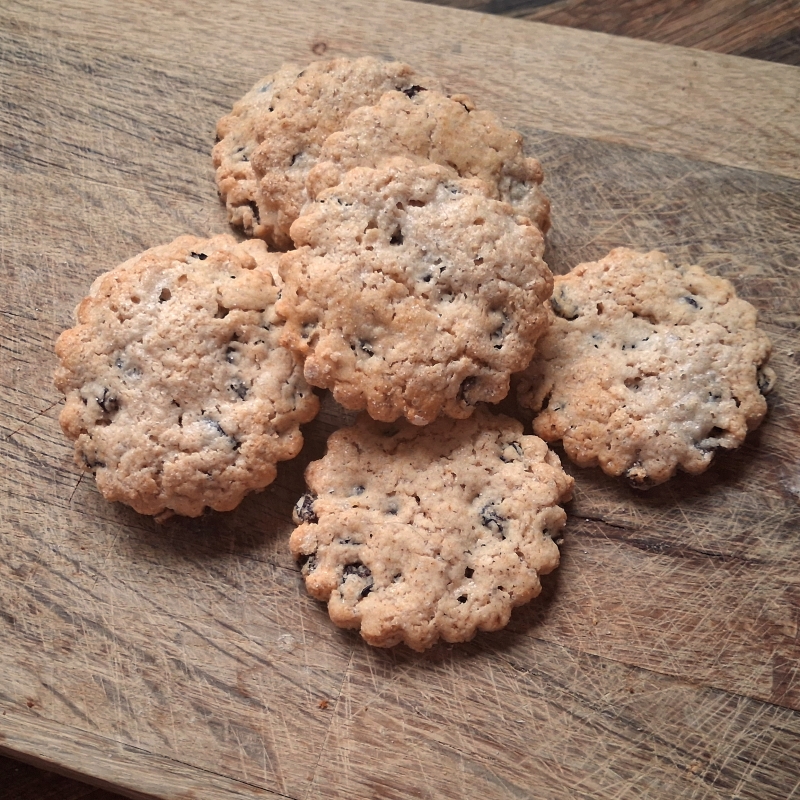
These two recipes are similar to two other traditional recipes I’ve already published. The Guildford Manchets bear a close resemblance to the Kouignettes, the small versions of Kouign Amann, except for the type of fat used and the lack of sugar. Whilst the ones I made for the photo are rolled round, a simpler method would be to cut the rolled dough into squares, fold the corners into the middle, and bake them in small foil baking tins. In Mrs David’s version of Lardy Buns, the use of cutters and the cross-hatching on the top make them very similar to Hungarian Pogácsa, minus the fresh dill. Lardy Buns are still made today, in a small village bakery in Surrey: “Celebration Cakes” in Cranleigh. They make them their own by poking two holes in the top, instead of using the cross-hatching. To my mind, it makes the baked buns look like the snouts of pigs (very cute and very appropriate, given the use of lard in their making).
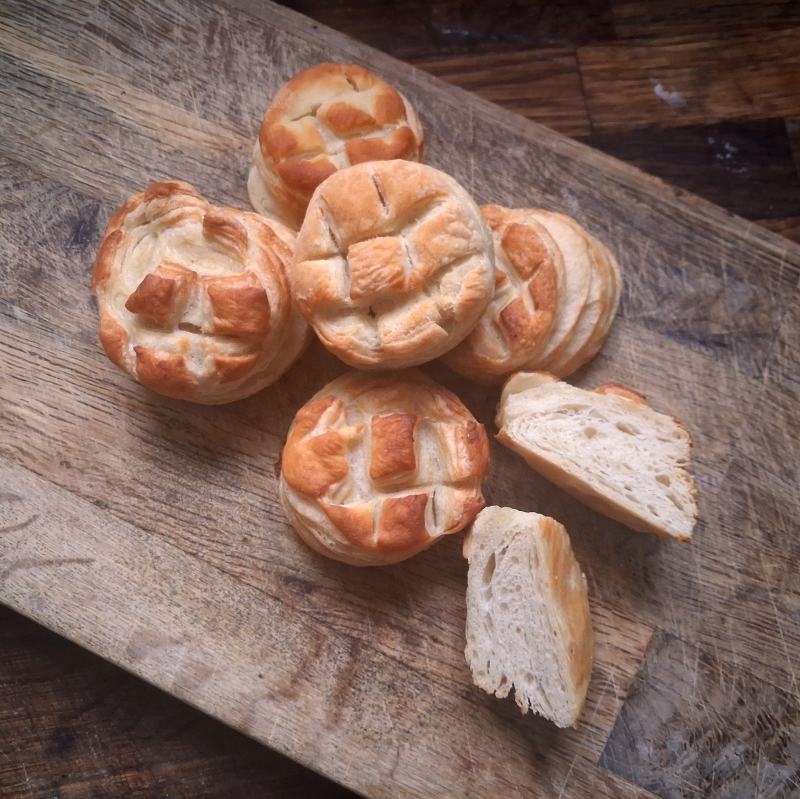
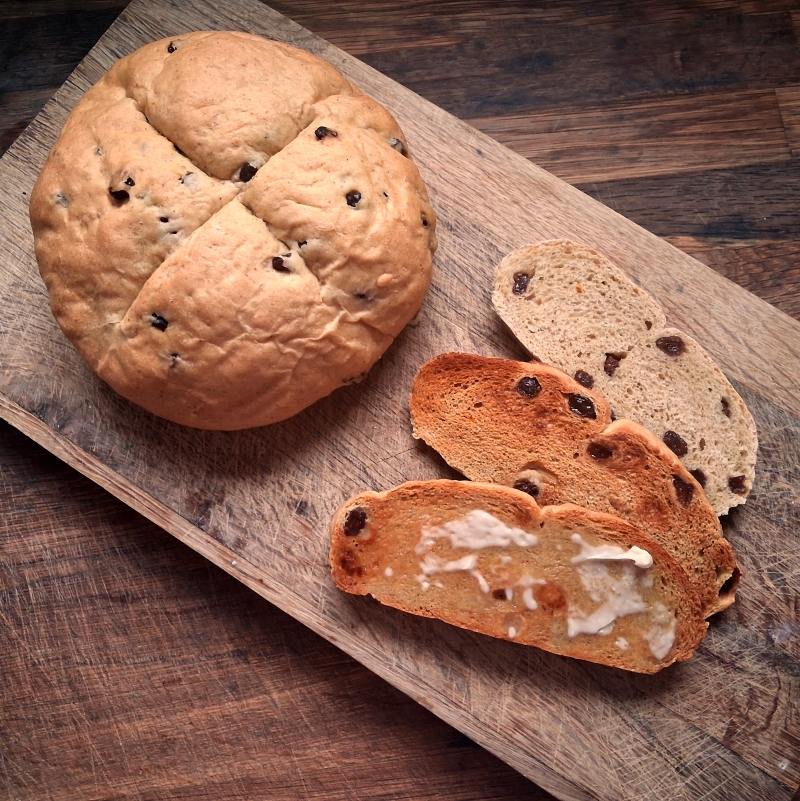
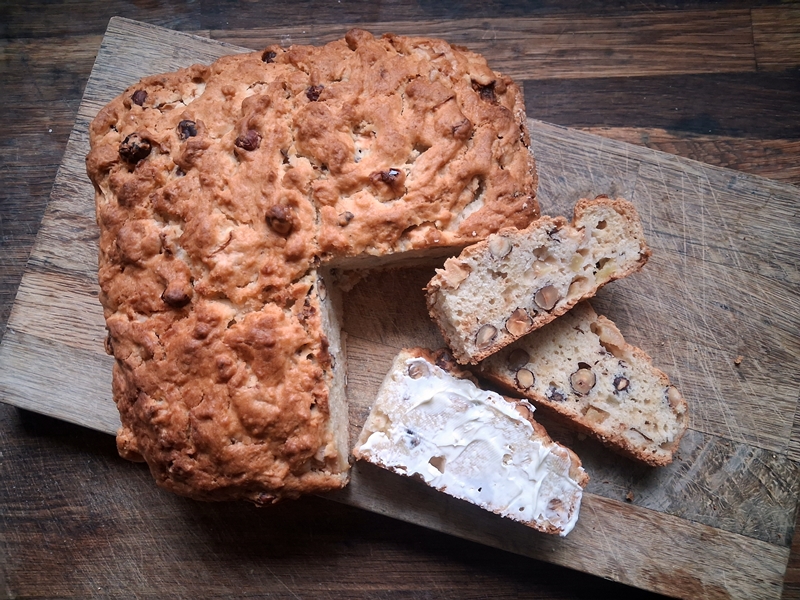
In terms of flavour, the Lardy Buns are definitely on the savoury side, and pairs well with meats and cheeses. Fantastic for ‘breakfast sandwiches’, if that’s something you like. The insides, whilst bready-y, are layered and soft, and the outsides are crispy, like the crust of a pork pie.
The Guildford Manchets have a much richer flavour, thanks to the butter, and are crisp, but also slightly softer overall. More towards a flaky pastry texture. They are equally suited to both sweet and savoury toppings/fillings.
I’m going to combine the methods for both recipes. Best started the night before, the recipe below makes about a dozen (12) of each item. Re-rolling the offcuts from the Lardy Rolls won’t give you the same polished finish, but they will be just as tasty. Baker’s perks! No waste!
Manchets Two Ways
Makes 12 of each type of manchet. You can scale the recipe down by halving it, if you’d prefer to make just one. To make the dough easier to handle all the rolling and folding, chill overnight in the fridge (covered) after the first rise.
For the dough
600g strong white bread flour
1 sachet fast-action yeast
1 tsp salt
water to mix
For Guildford Manchets
60g lard, softened
60g butter, softened
For Lardy Buns
120g lard, softened
To glaze
whole milk
- Mix the flour, yeast, salt and water (400-500ml, depending on the moisture content of your flour) into a dough.
- Knead for 10 minutes until smooth, then cover and set aside to rise for 1 hour.
- Tip out the dough and flatten with the palm of your hand. If you’re chilling the dough overnight, fold the dough into a neat rectangle, wrap in plastic and place in the fridge.
- When ready to make up the rolls, if making the Guildford Manchets, mash the softened butter and lard together with a fork.
- If you’re making both types of manchet, divide the dough in half and repeat the following with each half, using the different fats.
- Roll out the dough into a long rectangle.
- Dot one third of the fat over the top two-thirds of the dough.
- Fold the bottom third of the dough upwards and the top third downwards. Turn the folded dough 90° to the left.
- Repeat the rolling and folding two more times, until all the fat has been used.
- Roll and fold the dough one final time, without adding any fat.
- Roll the dough out into a rectangle about 2cm thick
- For Guildford Manchets
- Cut the dough into 12 squares.
- Fold each corner into the middle, then repeat with the ‘inbetween’ edges, pinching them together firmly.
- Turn the folded dough over, and roll under your cupped hand to form into a smooth ball.
- Place on a baking sheet lined with parchment.
- Alternatively, use mini foil pie tins like these, as used in this recipe, and simply fold in the four corners before dropping them into the foil tins. This will help preserve the layers by keeping the fat from running out of the dough and also reduce the possibility of the buns bursting at the seams. No need to cut the buns before baking is using this method.
- For Lardy Buns
- Use a small (5 or 6cm diameter) round cutter to cut out the buns.
- Place on a baking sheet lined with parchment.
- Set the buns aside to rise for 30 minutes.
- Heat the oven to 220°C, 200°C Fan.
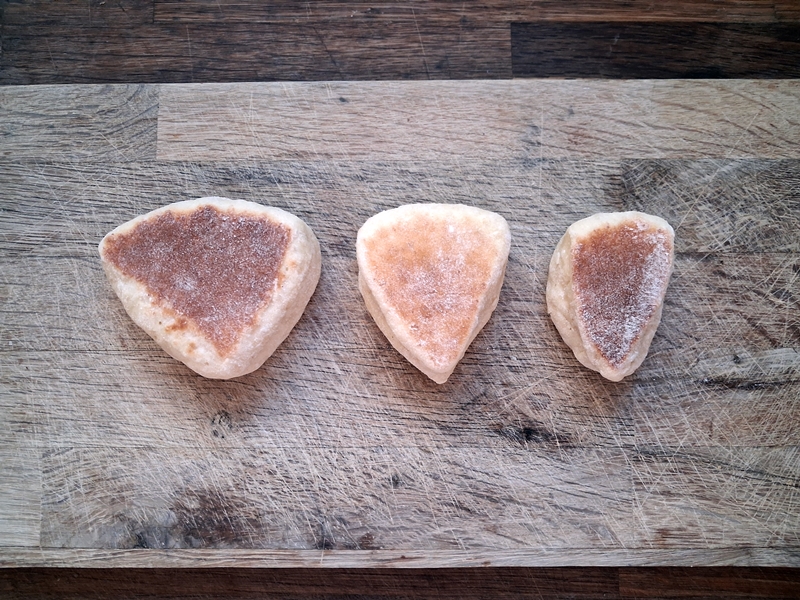
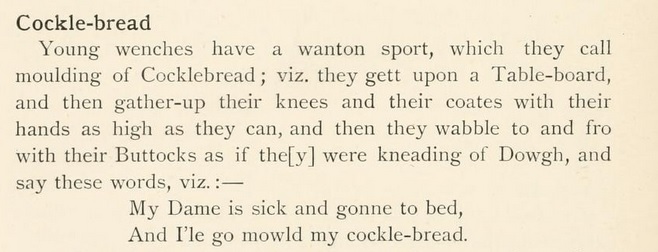
- Brush the risen buns with milk, then cut a criss-cross of diamonds into the top of the Lardy Buns and a single deep cut across the top of the Guildford Manchets. OK, here’s the thing. The original instructions for the Guildford Manchets, as reproduced by Mrs David, were to ‘dock through the centre only’ – the logic of which is understandable – it both lets out steam during baking and exposes the wonderful layers beneath. But as may be observed from the photo, it does also mean that the end result is a bit ‘Georgia O’Keef’. If you don’t see it, then I urge you to remain in blissful ignorance – it’s probably for the best. Because as we have learned before, baking can be a bawdy business at times. *coughs awkwardly* Moving on…
- Bake the buns for 20 minutes, turning the trays around after 10 minutes to give an even colouring.
- Cool on a wire rack.
- Best served warm.
- Store in an airtight container.