Two recipes for you this week, both of which are ancestors of recipes we still use today: a Good Friday Cake, and Easter Cakes. Both recipes come from manuscripts held by the National Library of Scotland.

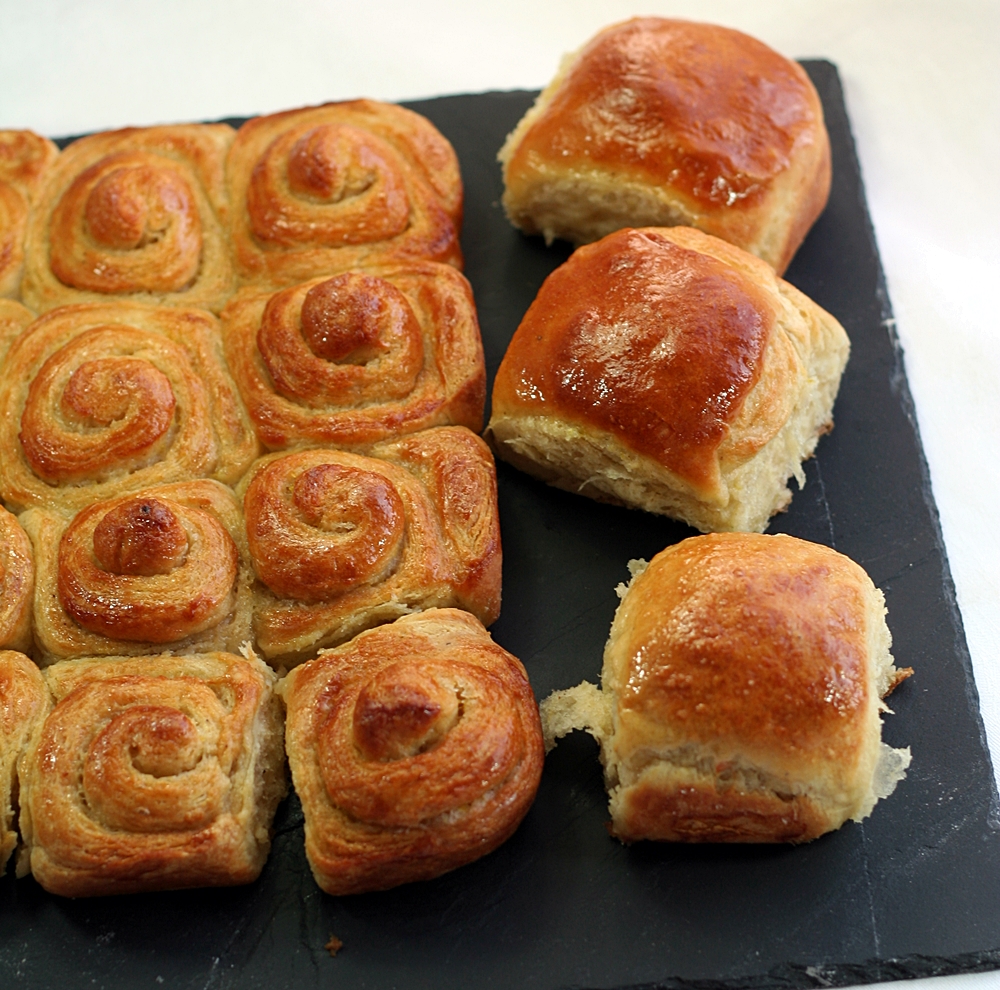
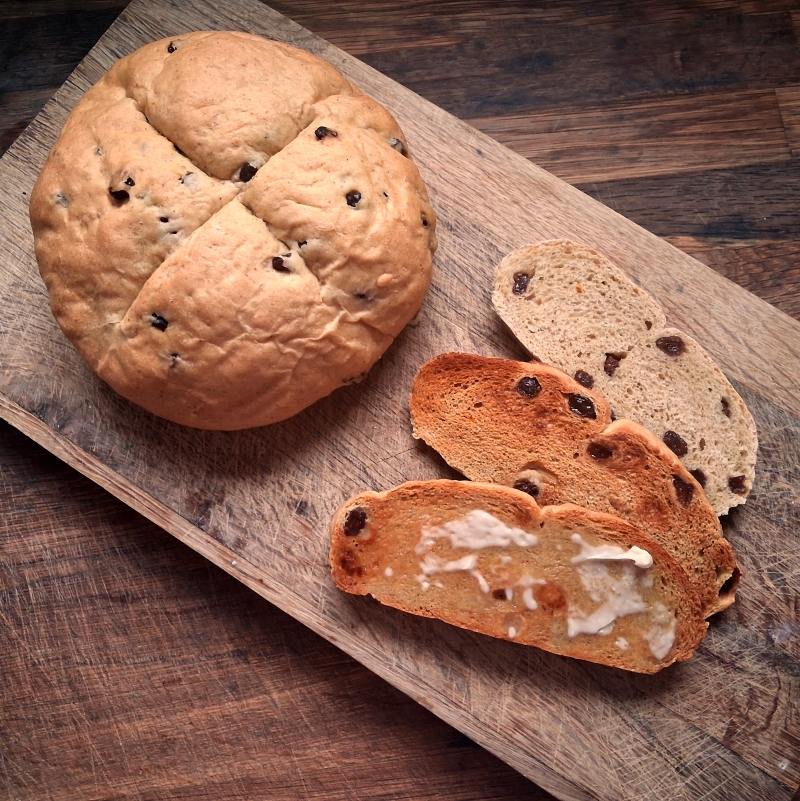
The Good Friday Cake is a yeasted saffron bun, lightly spiced and speckled with either currants or raisins. Links to our modern Hot Cross Buns are obvious. The use of saffron gives the cooked buns a wonderfully golden crust. The recipe doesn’t give an exact quantity of saffron, rather it suggest “two penny-worth”. In terms of translating this into a modern recipe, it’s probably better to go by the quantity of dough your working with to guide you. I’ve scaled this recipe down to 1/14th scale, working with just 1lb/450g of flour. Consequently, I suggest just a pinch of saffron. Sidebar: in culinary terms, a pinch is usually the quantity of whatever you’re measuring that can be picked up using two fingers and your thumb. However, due to the strength/expense of saffron, the smaller finger-and-thumb pinch is all that is required here.
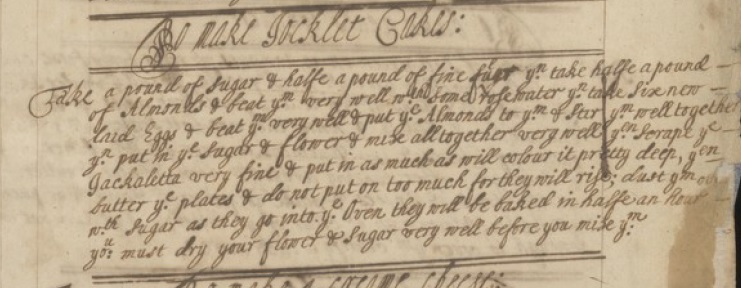
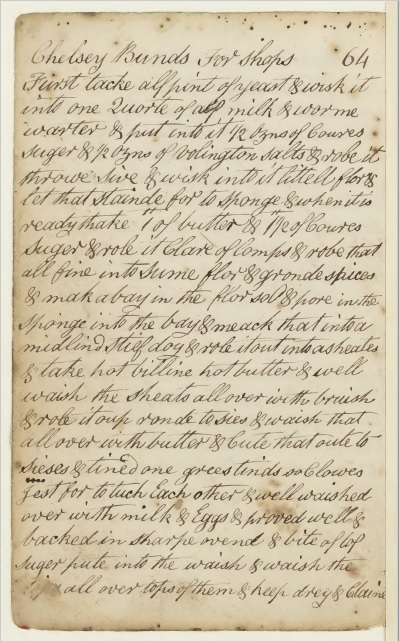
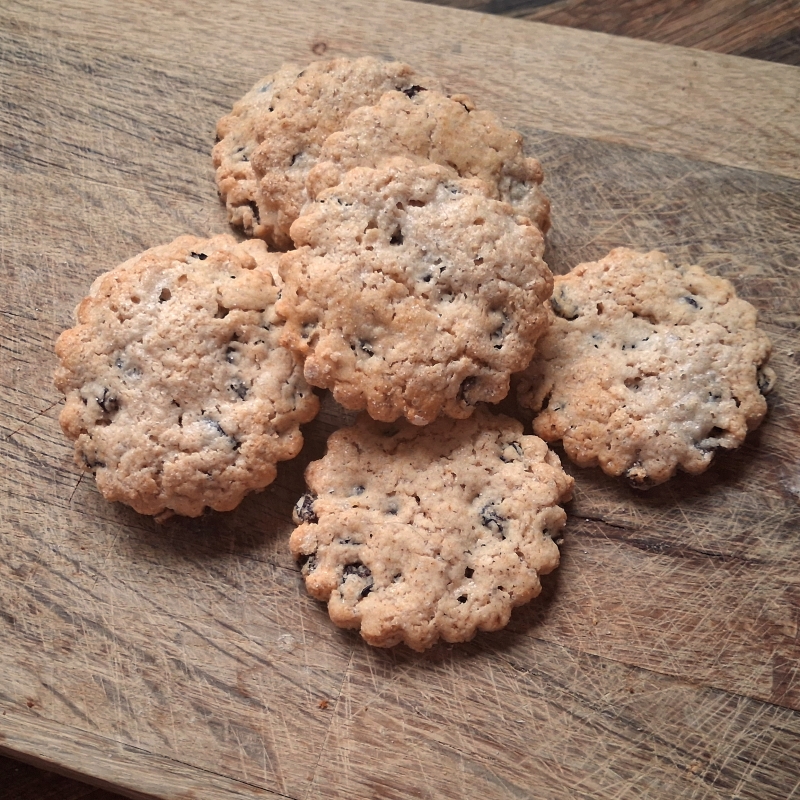
For the Easter Cakes, we revisit the eccentrically-spelled Bakery Book (my own nickname for it) dating from the early 19th century. Easter Cake recipes are still being made today, with modern variations including a range of spices and/or lemon zest. To avoid confusion, they are nowadays usually referred to as Easter Biscuits. As I’ve mentioned before, back in the day, the word ‘cake’ was used to refer to anything round and relatively flat in shape. I’ve read ‘cake’ recipes for sugar drops, lozenges, incense pellets, fruit drops, biscuits, buns, crackers, small cakes, large cakes and preserved herbs.
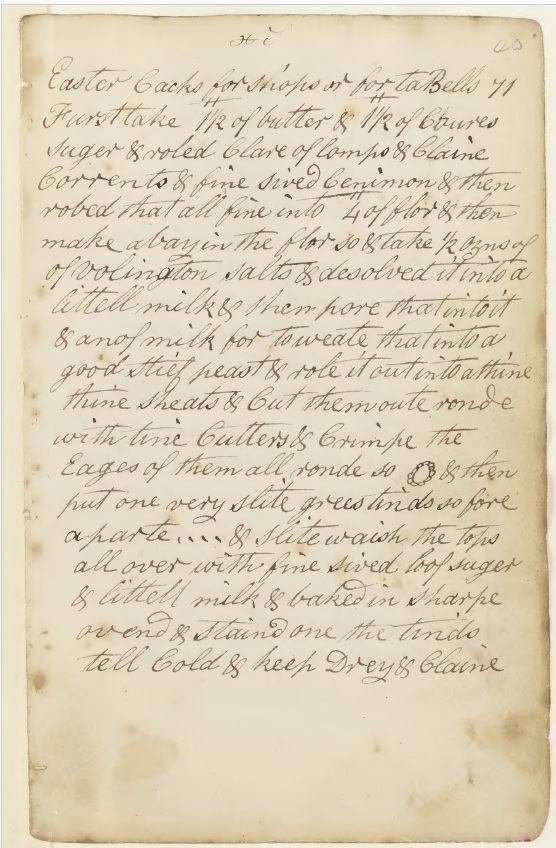
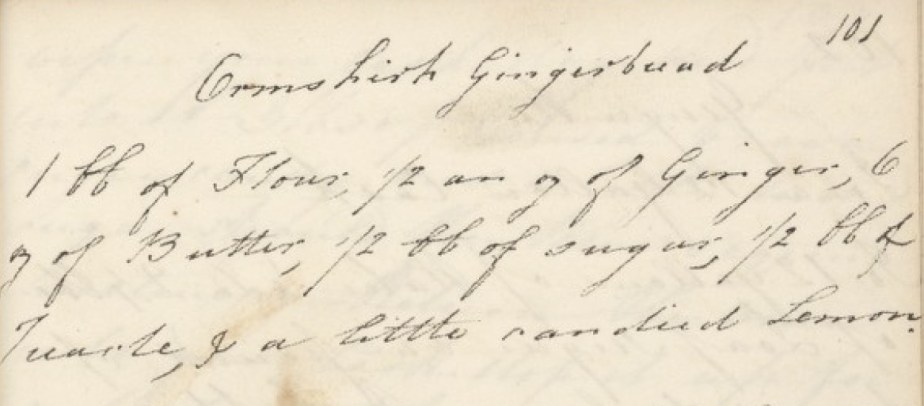
I’ve spent so much time reading handwritten manuscripts, and many laborious hours with this manuscript in particular, I can now read the above recipe at something resembling a ‘normal’ speed, but for anyone interested but deterred, I offer the following ‘translation’:
Easter Cakes for shops or for tables.
First, take 1½lb butter and 1½lb of coarse sugar rolled clear of lumps, and clean currants and finely sieved cinnamon, then rub that all fine into 4lb flour and then make a bay in the flour so and take ½oz volatile salts and dissolve it into a little milk and then pour that into it and enough milk for to wet that into a good stiff paste and roll that out into a thin thin sheets and cut them out round with tin cutters and crimp the edges of them all round so [diagram] and then put on very slightly-greased tins so far apart [diagram] and slightly wash the tops over with fine sieved loaf sugar and a little milk and bake in a sharp oven and stand on the tins until cold and keep dry and clean.
So! We meet again, Mr Volington Salts.
There are but a few tweaks of this recipe required in order to bring it into something usable by today’s standards.
- Volatile salts (aka Baker’s Ammonia) were used for aeration in the years before the invention of baking powder. During baking, the heat of the oven causes the ammonium carbonate/bicarbonate to decompose into ammonia, carbon dioxide, and water, providing both puff and crispness to baked goods, without any aftertaste. You can still buy it today (it is especially good for certain gingerbreads), although your kitchen should be well ventilated in order to disperse the ammonia properly. Substituting baking powder for the volatile salts is a straightforward swap.
- We no longer need to smash out the lumps in our coarse sugar – Demerera sugar is an excellent substitute.
- Cinnamon can easily be purchased finely ground and lump-free.
- Hand crimping biscuits is no longer required and a fluted, round cutter will do the job in a fraction of the time.
- Using parchment paper ensures your biscuits do not stick to the baking sheets and also reduces washing up afterwards.
- Caster sugar can be used for the finely-sieved loaf sugar.
I hope you enjoy trying these two Easter resurrections from times past.
Good Friday Cake
Delicious sliced, toasted and spread with salted butter.
200ml milk
a pinch of saffron strands
1lb plain flour
50g unsalted butter
0.5 tsp ground cloves
0.5 tsp ground mace
100ml warm water
1 sachet fast-action yeast
35g raisins
35g currants
milk to glaze
- Put the milk into a small pan with the saffron and bring to a simmer.
- Remove from the heat, cover and allow to steep for 20 minutes.
- Put the flour, butter, cloves, mace and yeast into a food processor and pulse until the mixture resembles breadcrumbs.
- Pour the saffron mixture and the water into the bowl of a stand mixer.
- Add the flour mixture and knead for 10 minutes.
- Cover the bowl with plastic wrap and allow to rise for 1 hour.
- Tip out the risen dough and divide in half.
- Flatten the dough and sprinkle over the dried fruit – currants in one half, raisins in the other.
- Shape into rounds and flatten slightly. Each bun will be about 15cm in diameter.
- Cover lightly with a cloth and set to rise for about 30 minutes.
- Heat the oven to 180°C, 160°C Fan.
- Cut a deep cross into the centre of each bun. Be sure not to cut through the edges. My dough scraper is just about the perfect width for this.
- Brush the tops with milk and bake for 30-40 minutes, turning the tray around after 25 minutes to help even the colour.
- Cool on a wire rack and store in an airtight container.
Easter Cakes
Makes about 35 biscuits.
I made these gluten-free with a mixture of gluten-free flour and xanthan gum. If you’re fine with gluten, just use regular plain flour.
225g gluten-free flour + ½ tsp xanthan gum
1 rounded tsp ground cinnamon
2 level tsp baking powder
85g unsalted butter
85g Demerera sugar
85g currants
milk to mix & glaze
caster sugar to sprinkle
- Heat the oven to 180°C, 160°C Fan.
- Put the flour, xanthan gum, cinnamon, baking powder and butter into the bowl of a food processor and pulse until the mixture resembles breadcrumbs.
- Tip the mixture into a bowl and add the currants and sugar.
- Moisten with milk and stir until the mixture comes together into a dough.
- Knead briefly and turn out onto a floured surface.
- Roll out thinly (5mm) and cut into biscuits using a crimped, 5cm diameter cutter.
- Lay the biscuits onto baking sheets lined with parchment paper.
- Brush the tops with milk and lightly sprinkle with caster sugar.
- Bake for 15-20 minutes or until the edges are a light golden brown, turning the tins around after 10 minutes to help even the colour.
- Cool on the tins for 10 minutes, then finish cooling on a wire rack.
- Store in an airtight container.