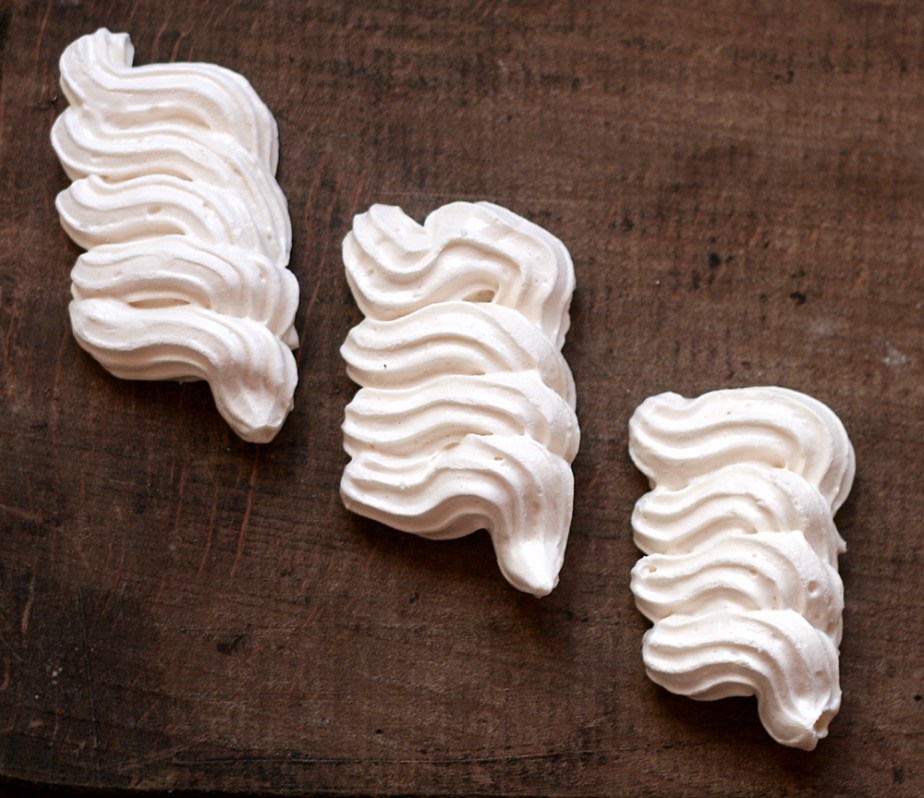
It’s all about triangular pastries this week.
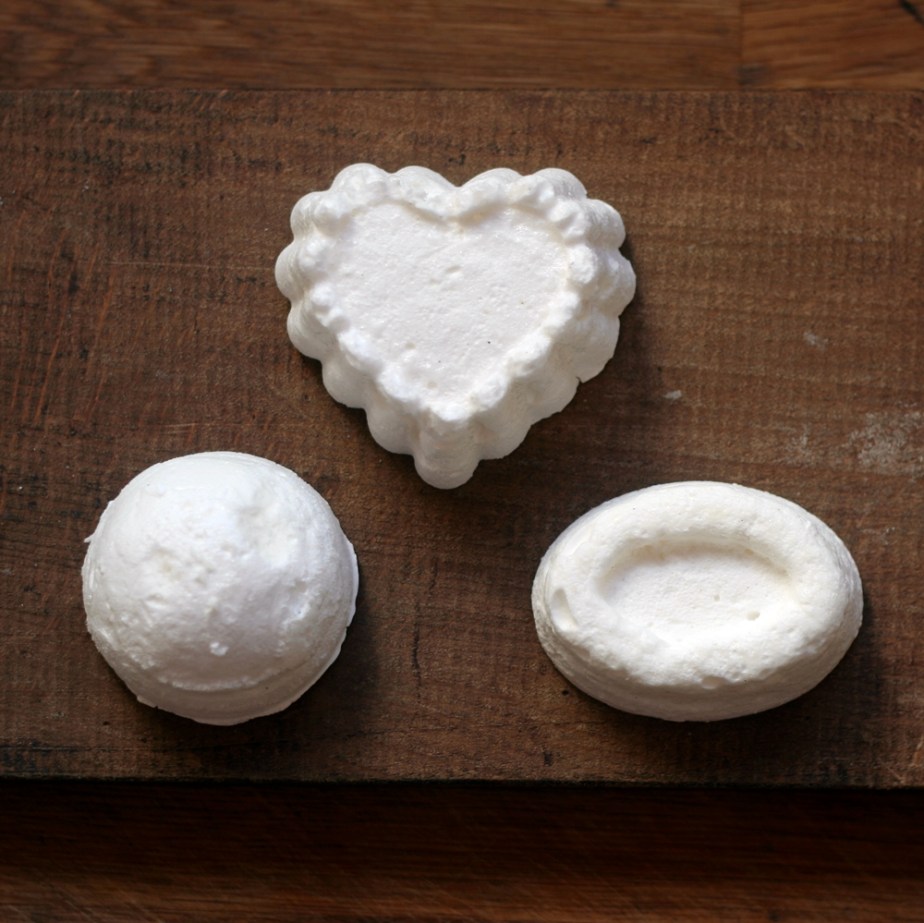
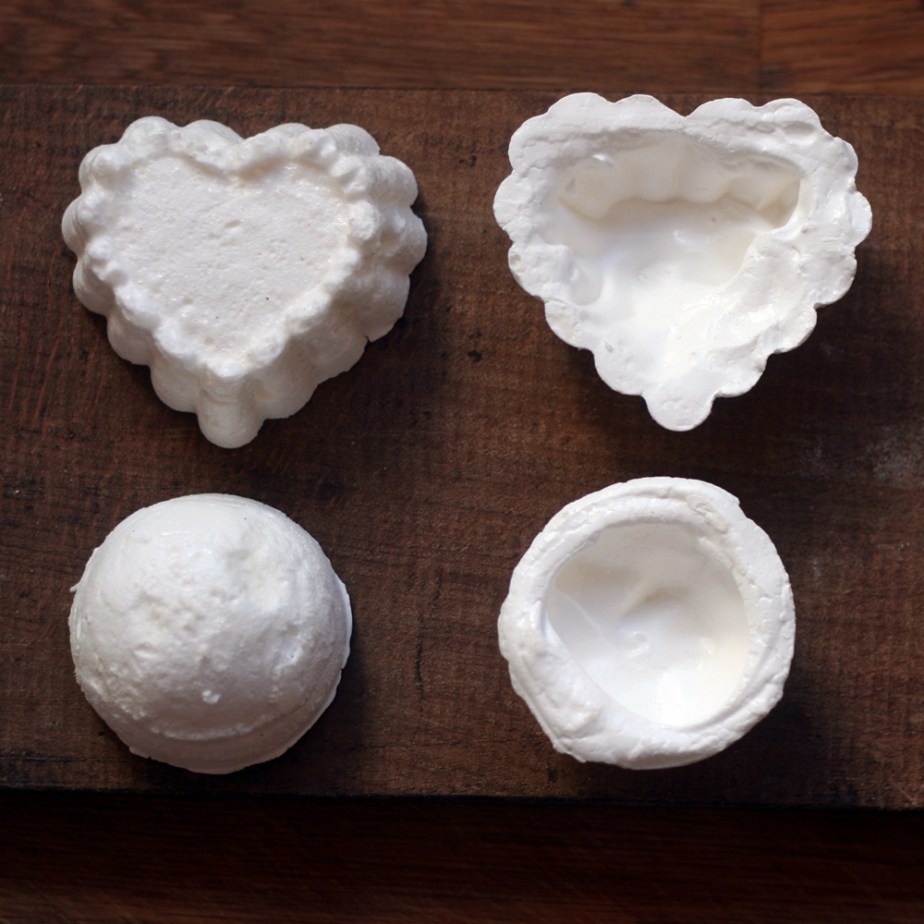
Let us start with Coventreys (middle pastry in the above photo). Essentially, these are jam turnovers, but there are a few key characteristics that set them apart from your average turnover. For a start they are triangular, formed by cutting circles of puff pastry, adding a teaspoon of raspberry jam and folding in the edges of the pastry to form an equilateral triangle. These are then turned over and laid on the baking sheet with the seal underneath. The edges of the pastry are notched using either a flat-ended spatula, or a knife. This has two purposes. Firstly, it allows the steam to scape during baking, and secondly, it permits the jam to peek through in an attractive manner.
Godcakes (on the left in the above photo) also hail from Coventry, but according to Harris & Borella (All About Pastries, c1900) are actually more well known in their home town than regular Coventrys. Godcakes too are triangular, formed in the same way as regular Coventreys, but are baked with the seals upwards and visible. Their filling is of a rich mincemeat, and derived their popularity from being given as blessings by godparents to their godchildren, the three sides being symbolic of the Holy Trinity.
There’s some differing opinions as to when this gifting of pastries might have taken place. Harris & Borella maintain it was at Easter, whereas other sources claim New Year’s Day or even the festive season itself. This might be down to the filling. Nowadays we tend to associate mincemeat very much with Christmas, but originally it was eaten pretty much all year round, and a number of eighteenth century cookery writers, including Hannah Glasse, have recipes specially tailored for consumption during Lent.
There’s certainly a long history of symbolic cakes tied to the church. A ‘God’s Kichel’ is mentioned in Chaucer’s Summoner’s Tale, and defined as
Kichel: A flat Christmas cake, of a triangular shape, with sugar and a few currants strow’d over the top – differing, only in shape, I believe, from a bun. Cocker says “Kichel is Saxon – a kind of cake of God’s Kichel, a cake given to God-children when they ask blessing of their God father.”¹
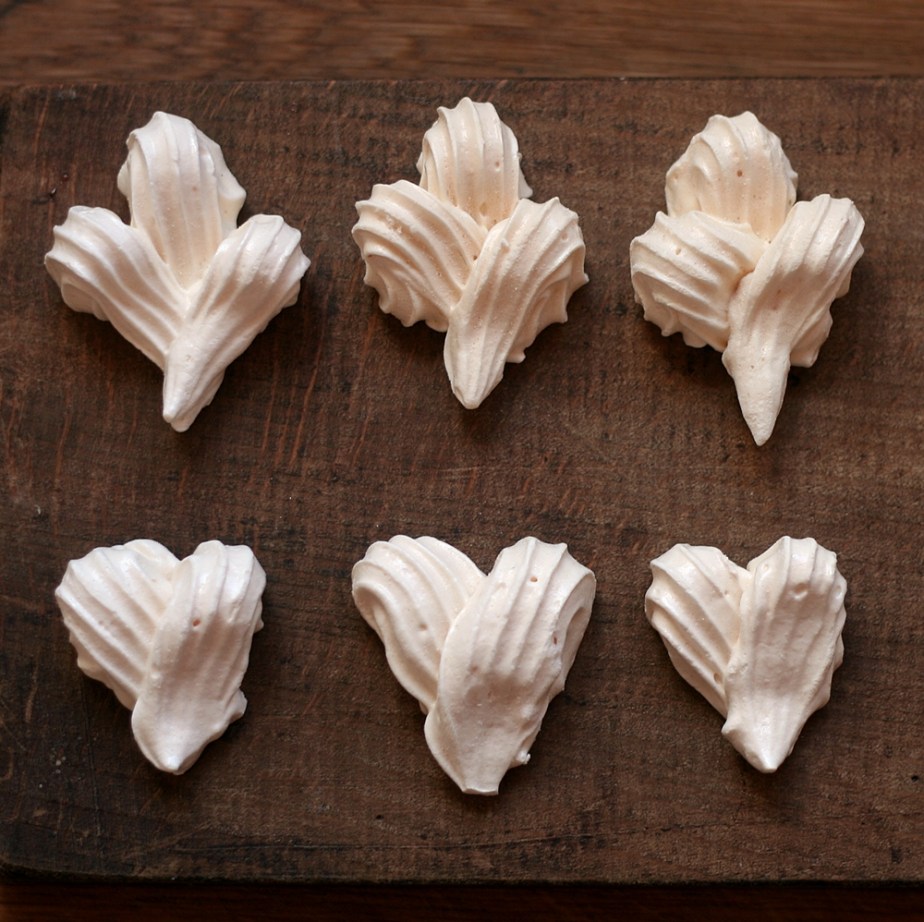
The third pastry is, I confess, something of a mystery in that I have not been able to find much detail about them at all. Congleton Cakes, aka Count Cakes, have long been celebrated. They are of triangular form, with a raisin inserted at each corner; and, from being eaten at the quarterly account meetings of the Corporation for more than a century, they are called ‘Court Cakes’. The three raisins are thought to represent the mayor and two justices, who were the governing body under the charter of James I. By others, they are supposed to symbolise the Trinity. ²
Aside from their shape, and the detail of the three raisins at the corners, there’s no further information that I have been able to find. The pastry, if indeed it is that, might be shortcrust, sweet shortcrust, puff or hot water crust. It might even be bread dough, either plain or enriched. The filling might be jam or mincemeat or apple or currants or something else entirely. I’ve gone with puff pastry and a mincemeat filling, as the names ‘court’ and ‘count’ have a whiff of expense. However, the high temperature needed to bake the puff pastry well and truly crisped the three raisins, which is what got me thinking the paste might be something plainer, shortcrust perhaps (like Chorley cakes), or even an enriched dough (like the original Banbury Cakes). They might not even be a filled pastry at all, but a fruited dough which has merely been cut into triangles, but it’s all guesswork unless someone can fill in the gaps.
If anyone has any information on these mysterious baked treats, please do get in touch.
Coventrys, Godcakes & Congleton Cakes
The instructions can easily be adapted to whichever of the three pastries you’d like to make, so it’s going to be a one-size-fits-all kinda recipe. To make about 8 cakes.
1 sheet of ready-rolled puff pastry
raspberry jam (Coventrys) OR mincemeat (Godcakes/Congleton cakes)
large raisins (Congleton cakes)
eggwhite (for glazing)
caster sugar (for glazing)
- Heat the oven to 220°C, 200°C Fan.
- Sprinkle the pastry with flour and roll out a little thinner (3-4mm).
- Cut plain circles of pastry, about 10cmin diameter.
- Dampen the edges with a little water to help with sealing the cakes/
- For Coventrys, spread a teaspoon of raspberry jam in the centre, then fold the edges in over the jam to make a triangle. Press gently, then turn the pastry over and place seal-side down on a baking sheet lined with parchment.
- For Godcakes, spoon a rounded teaspoon of mincemeat into the centre, then fold the edges in over the mincemeat to make a triangle. Press gently, then place seal-side uppermost on a baking sheet lined with parchment.
- For Congleton Cakes, place three large raisins at equal distance around the edge of the pastry. Spoon a rounded teaspoon of mincemeat into the centre, then fold the edges in over the mincemeat to make a triangle, ensuring the raisins are closely folded in the pastry.
- Whichever style you have made, brush over with lightly whisked egg-white and sprinkle with caster sugar.
- Using a flat-ended spatula, or a knife, make notches in all three sides of each pastry. For Coventrys, don’t make the cuts too deep, as the jam might leak out during cooking.
- Bake for 18-20 minutes, turning the baking sheet around after 10 minutes to ensure even colouring.
- Cool on a wire rack.
¹ “Suffolk Words and Phrases: Or, An Attempt to Collect the Lingual Localisms of that County”, Edward Moore, 1823
² “The English dialect dictionary”, J. Wright, Volume 1 A – C, 1898